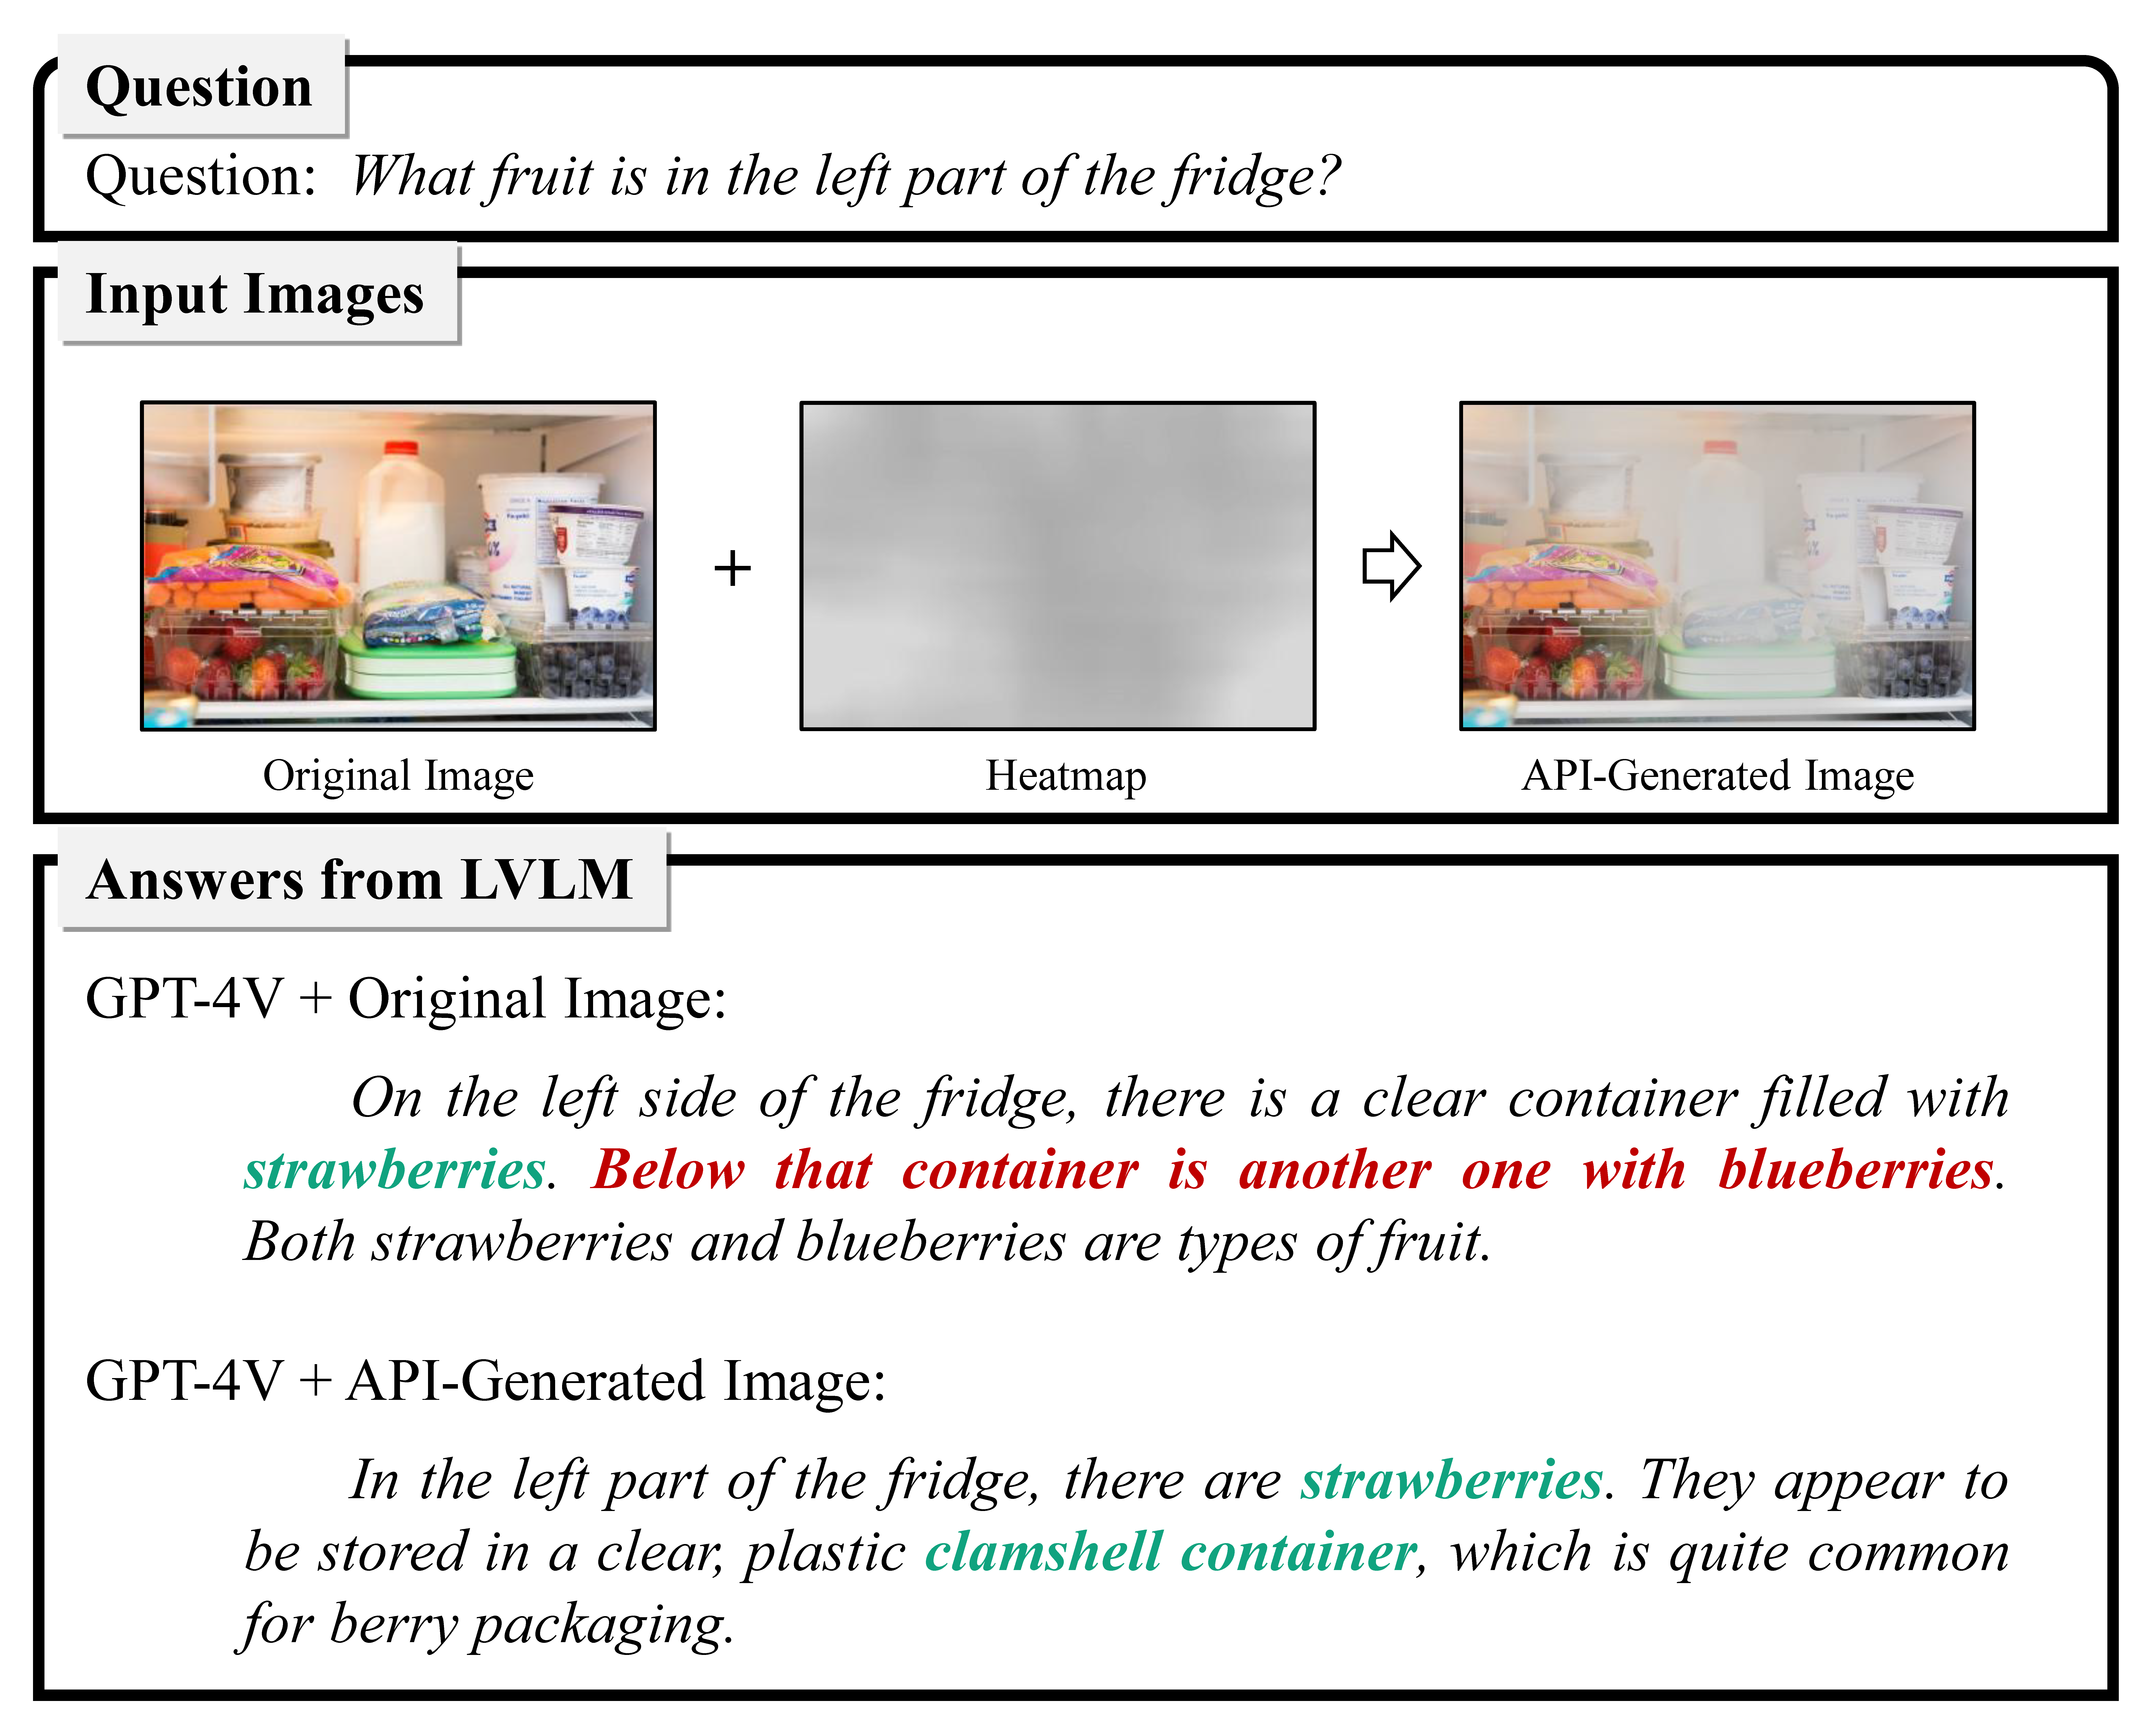
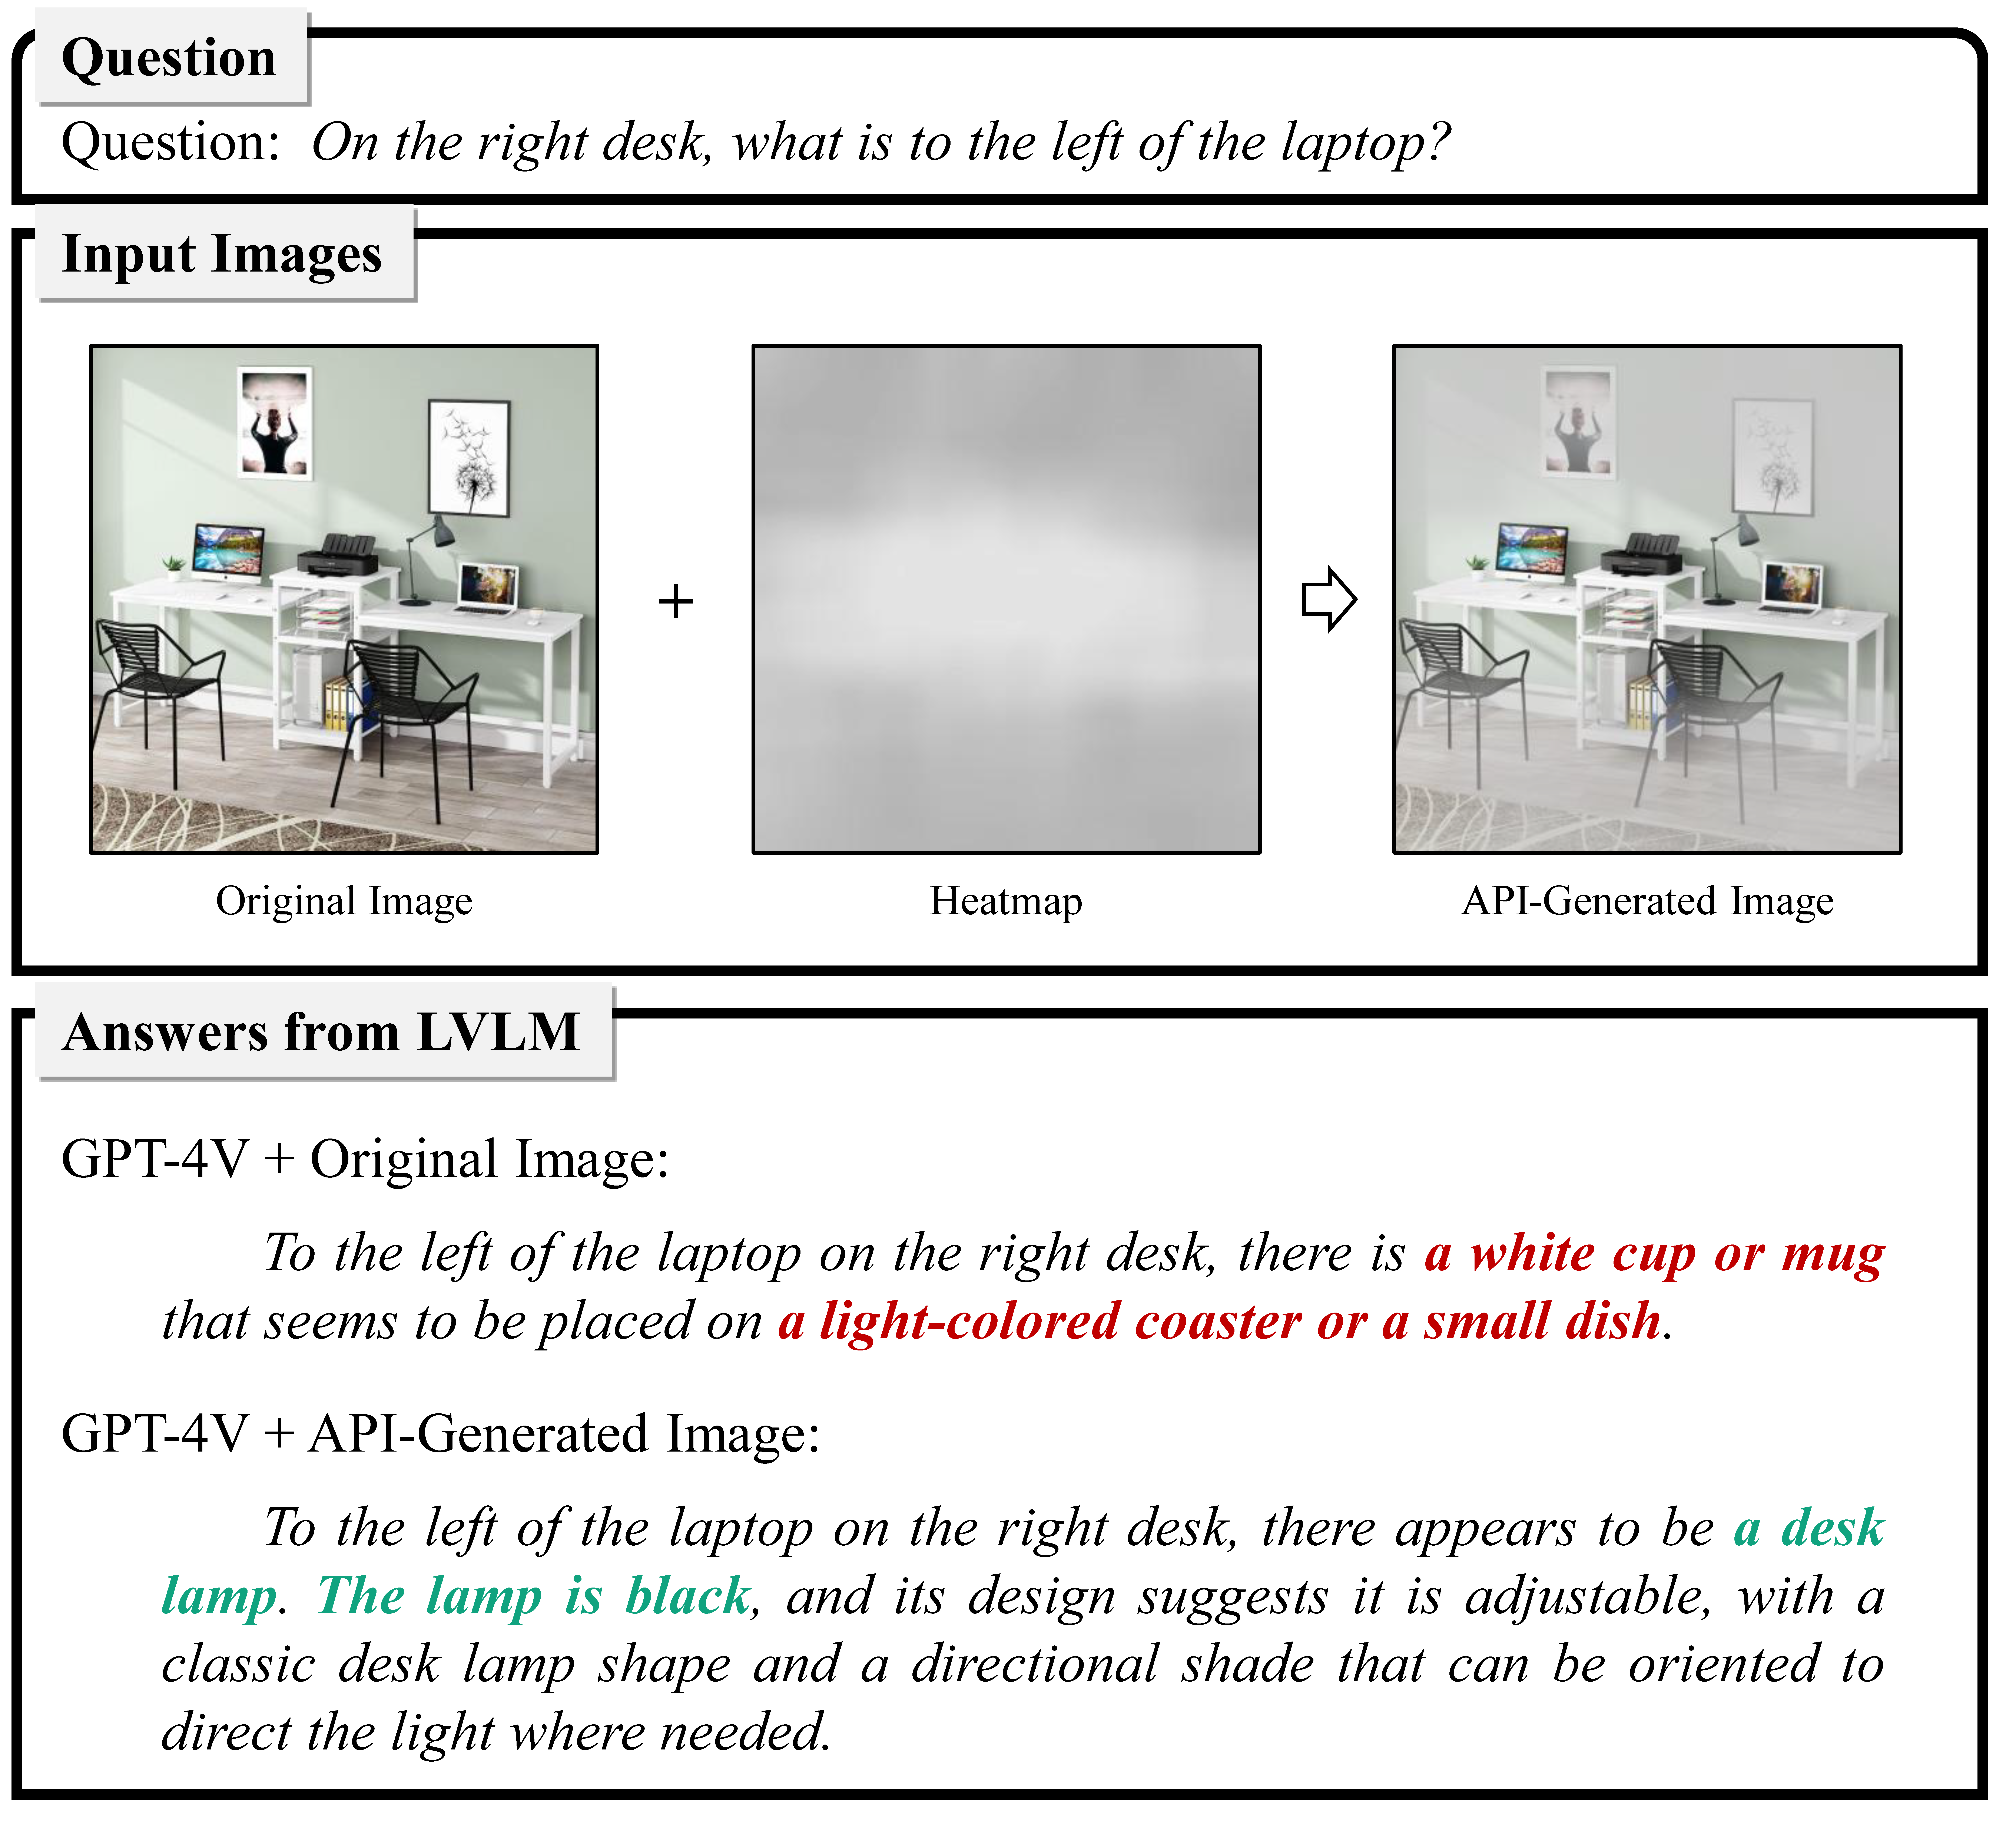
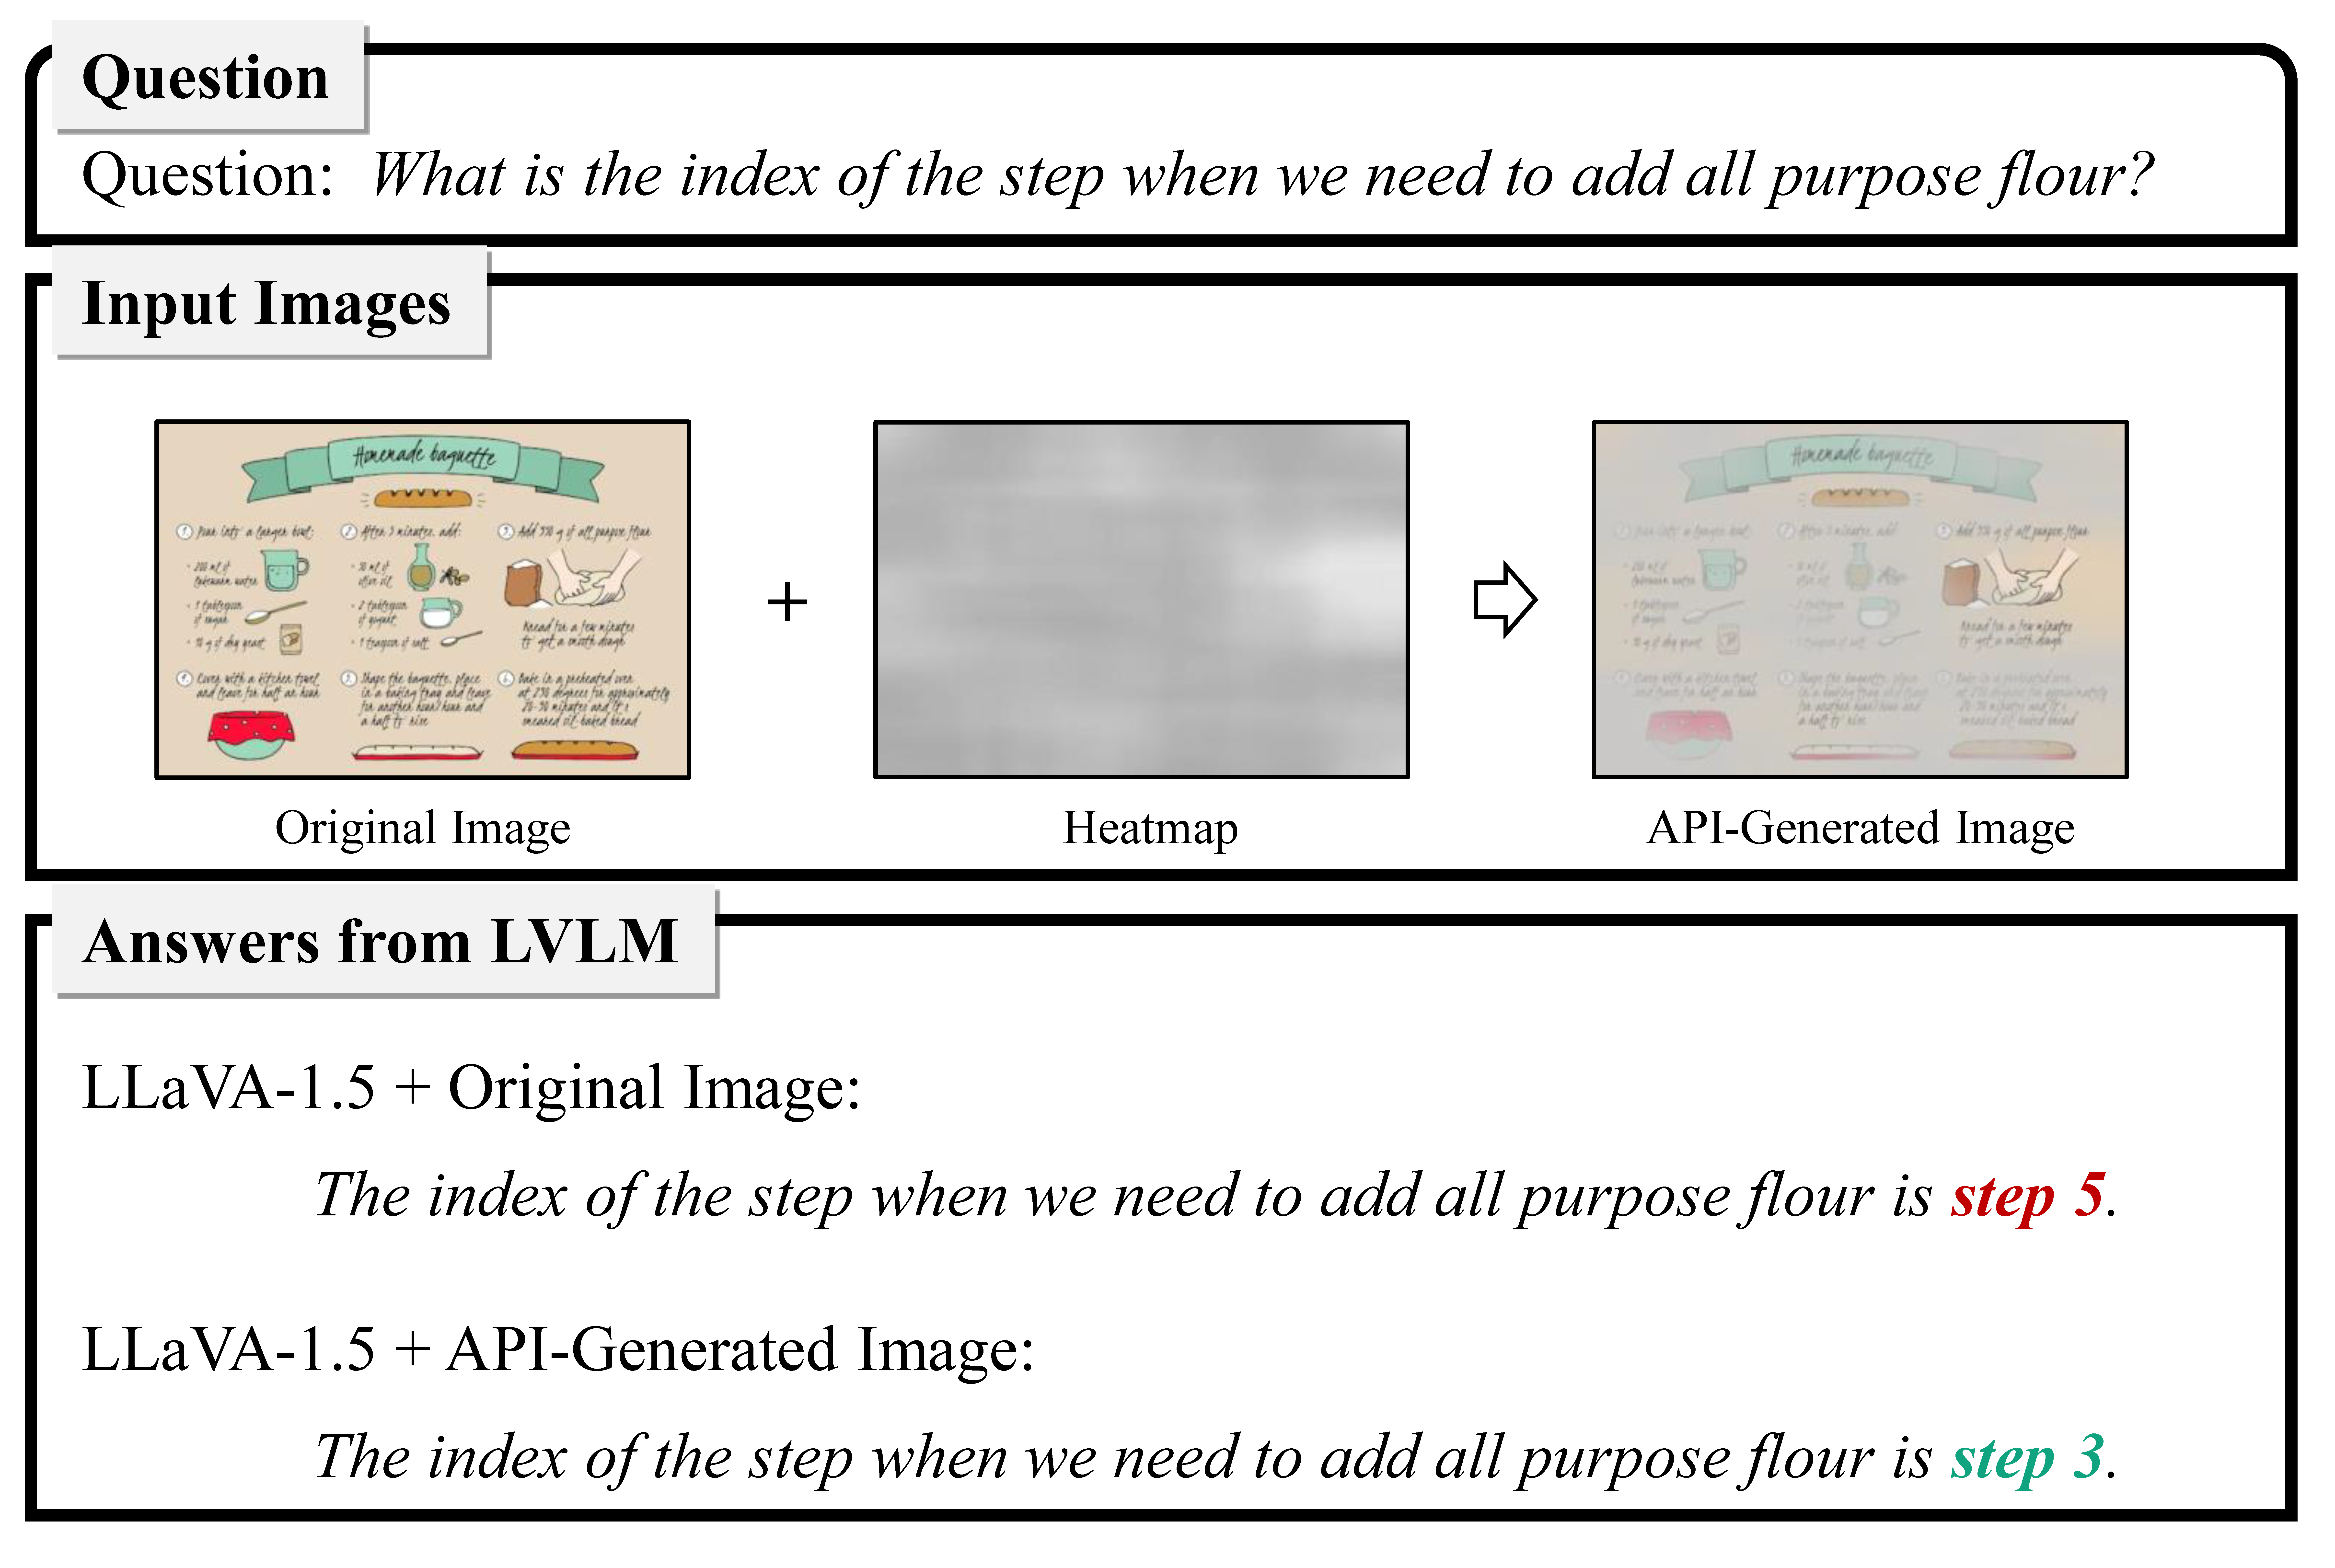
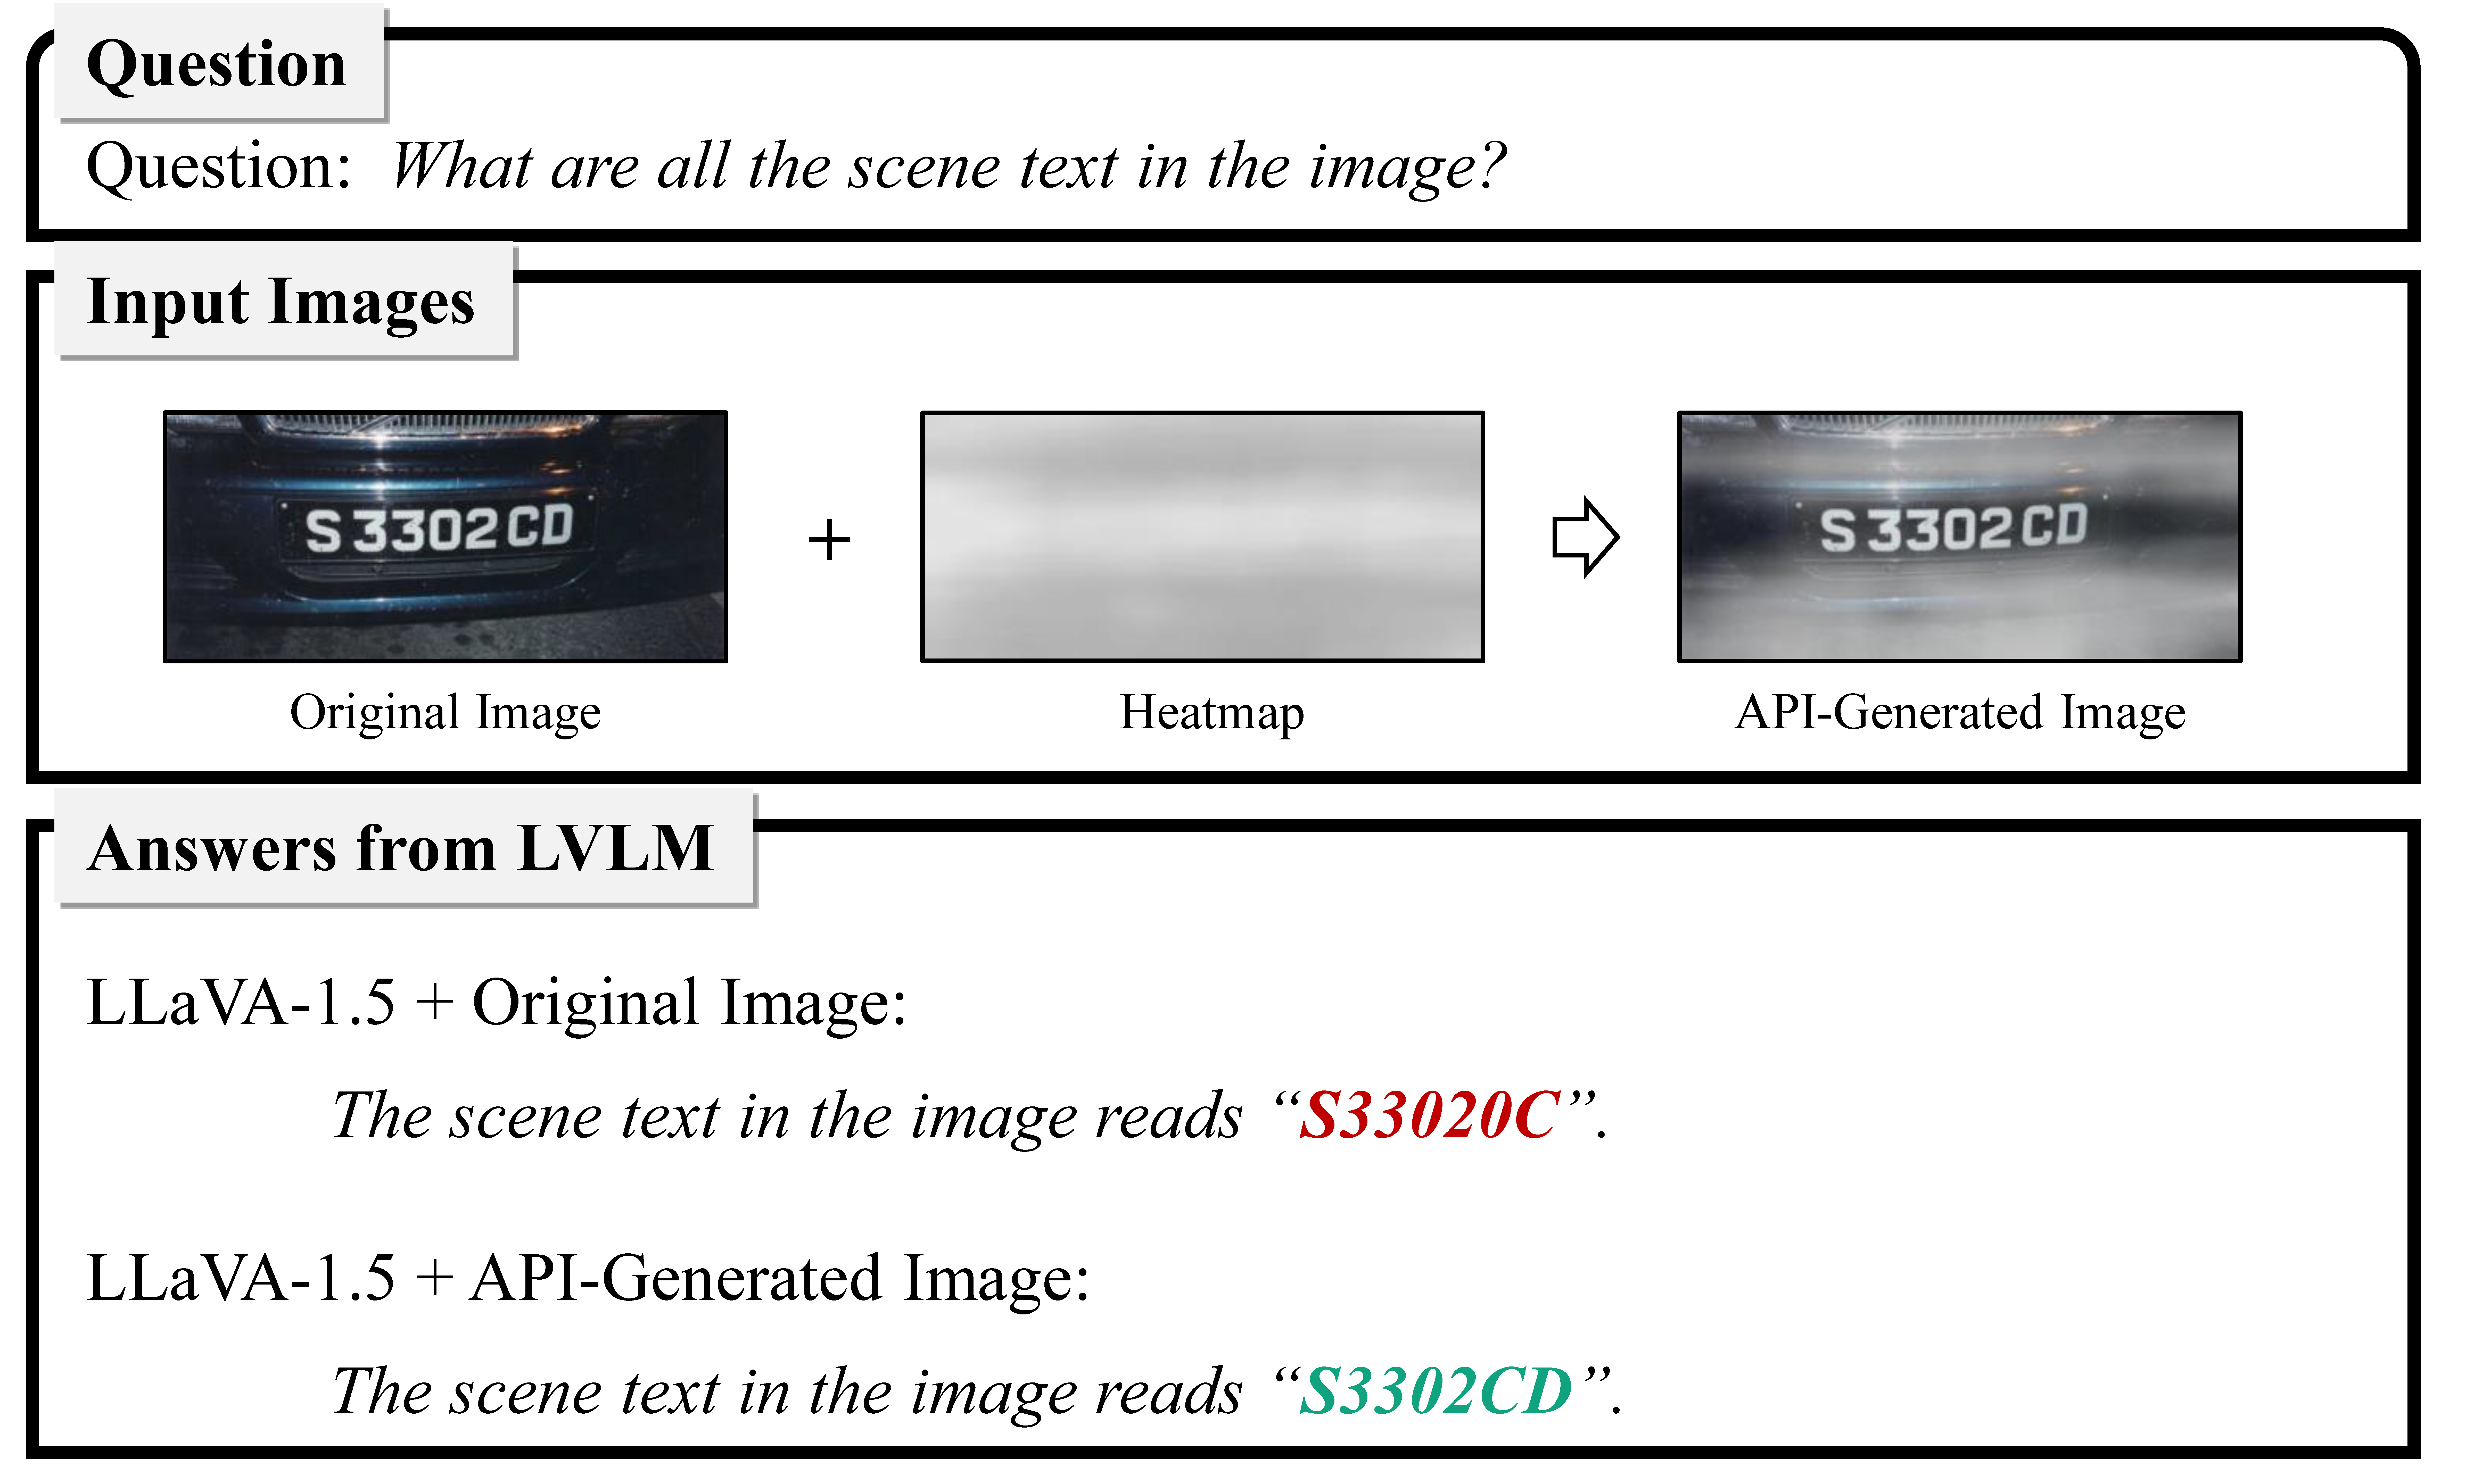
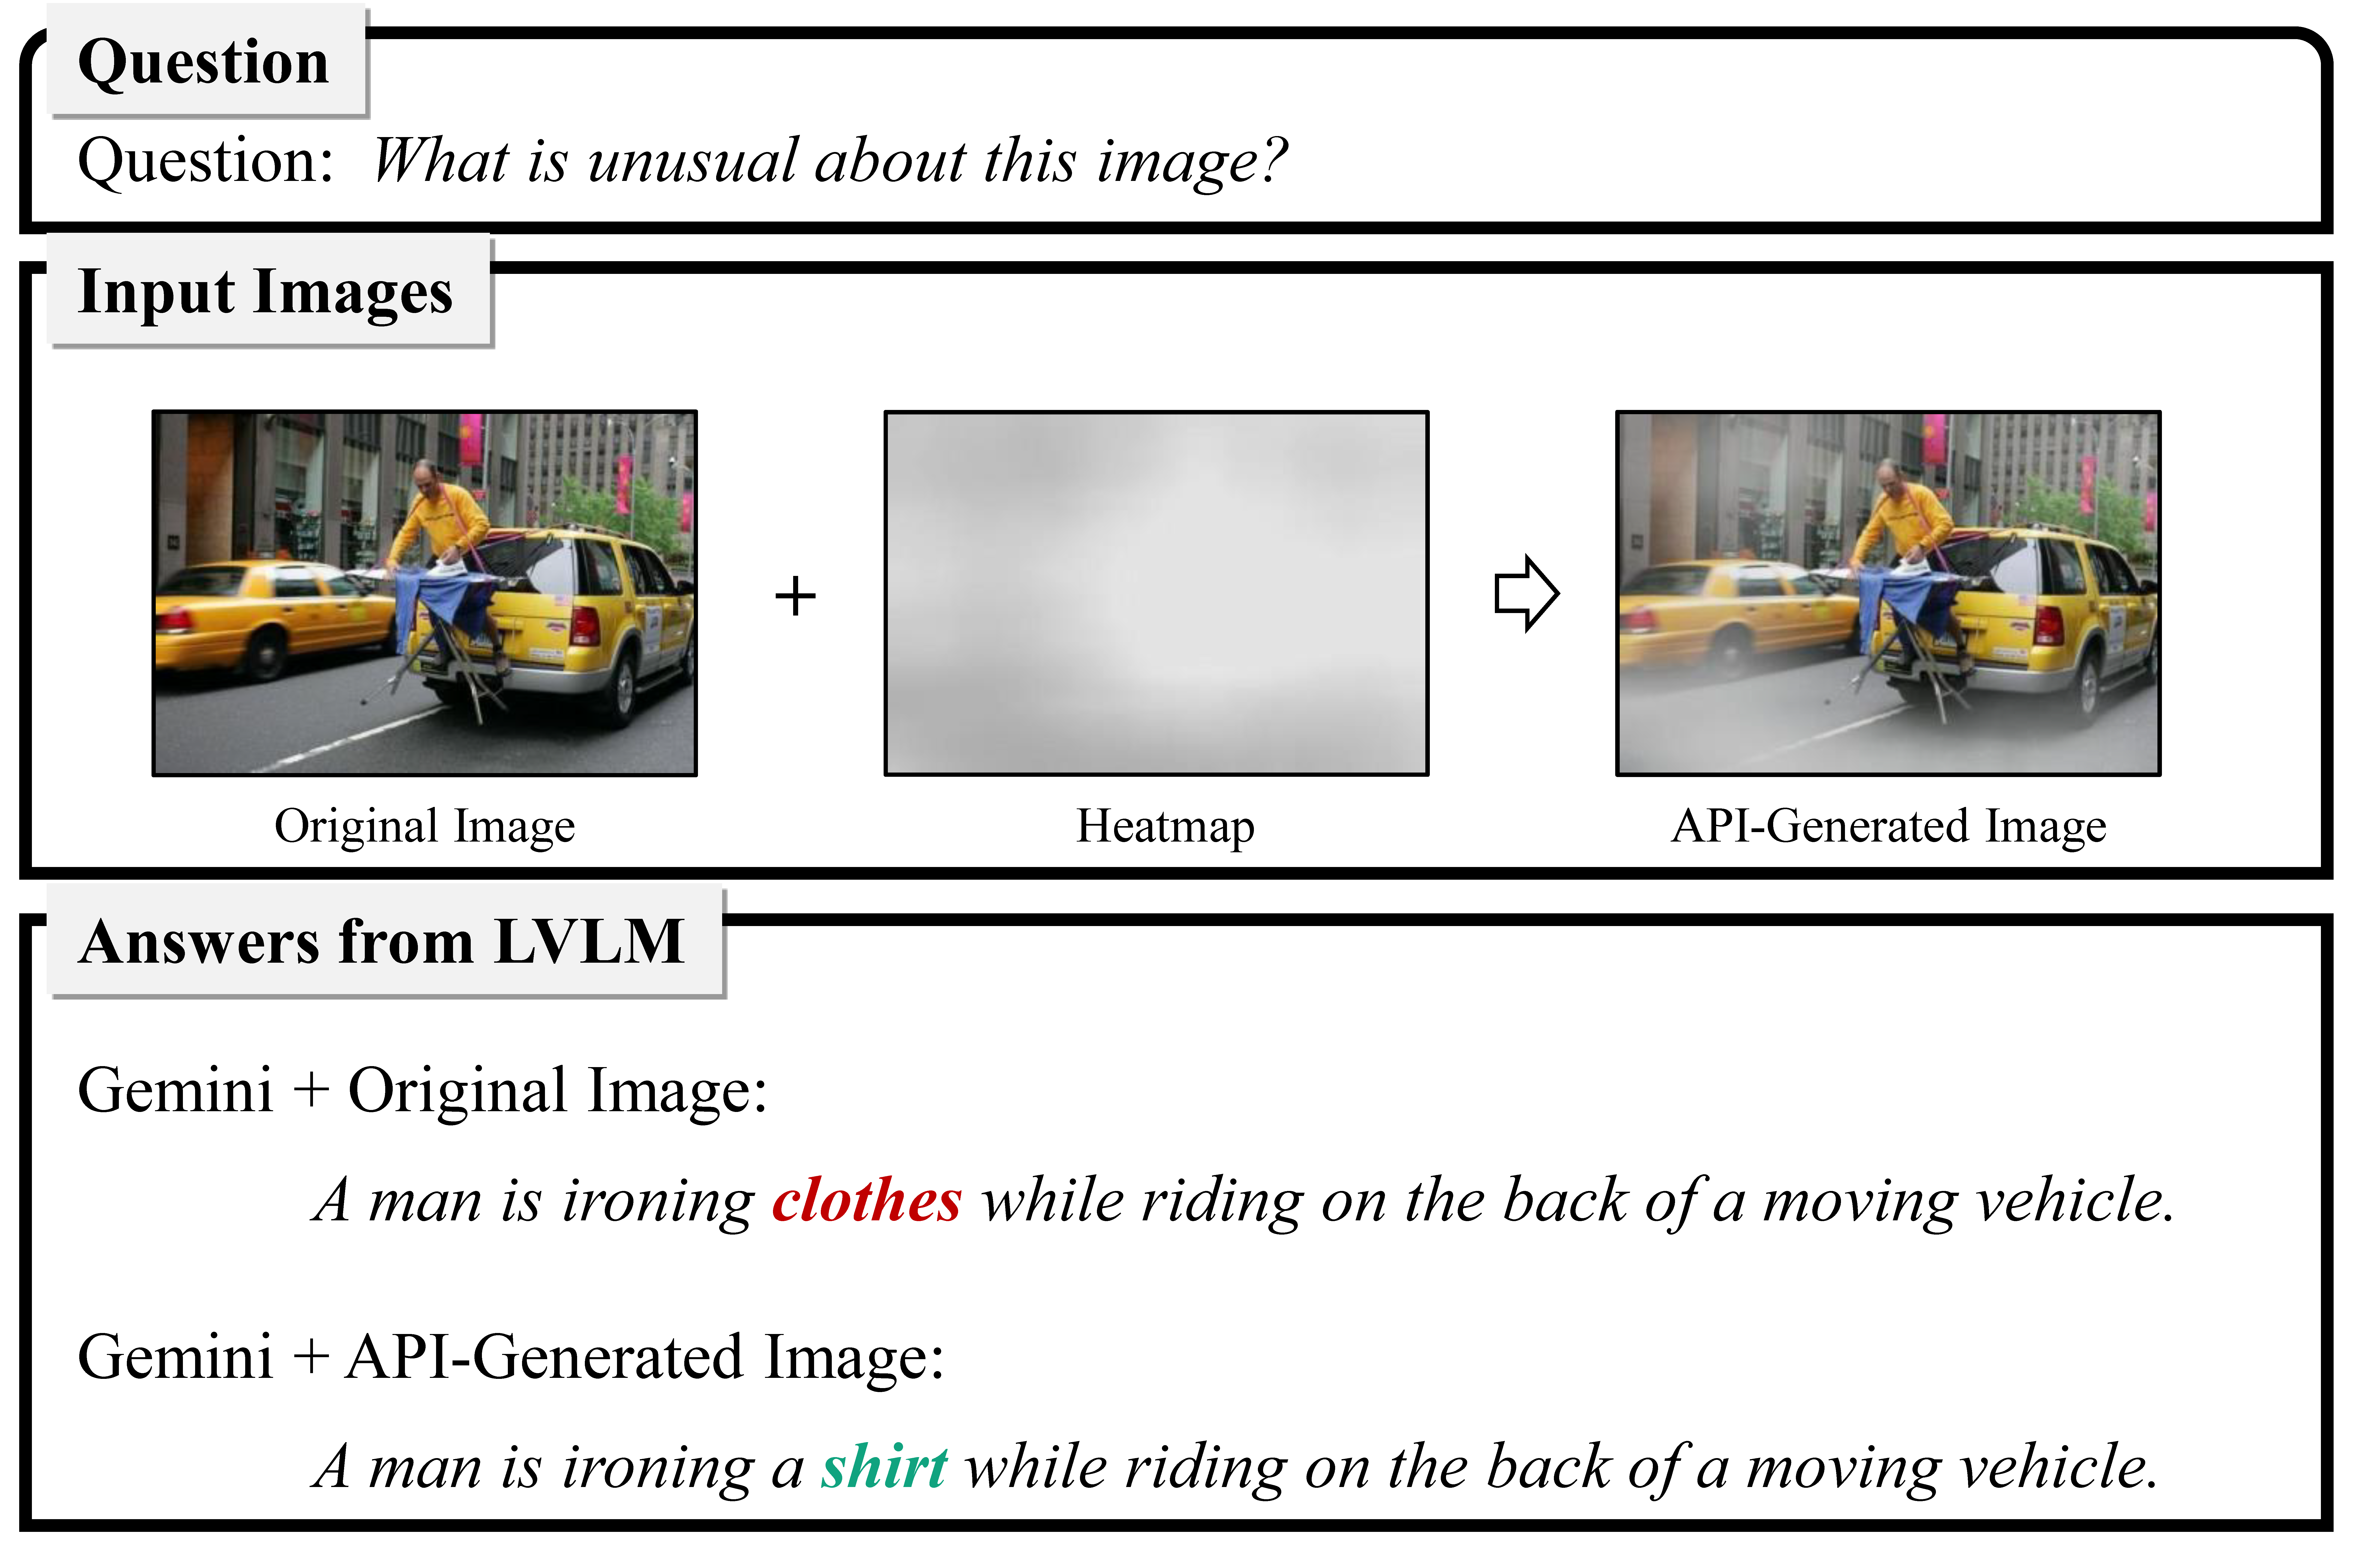
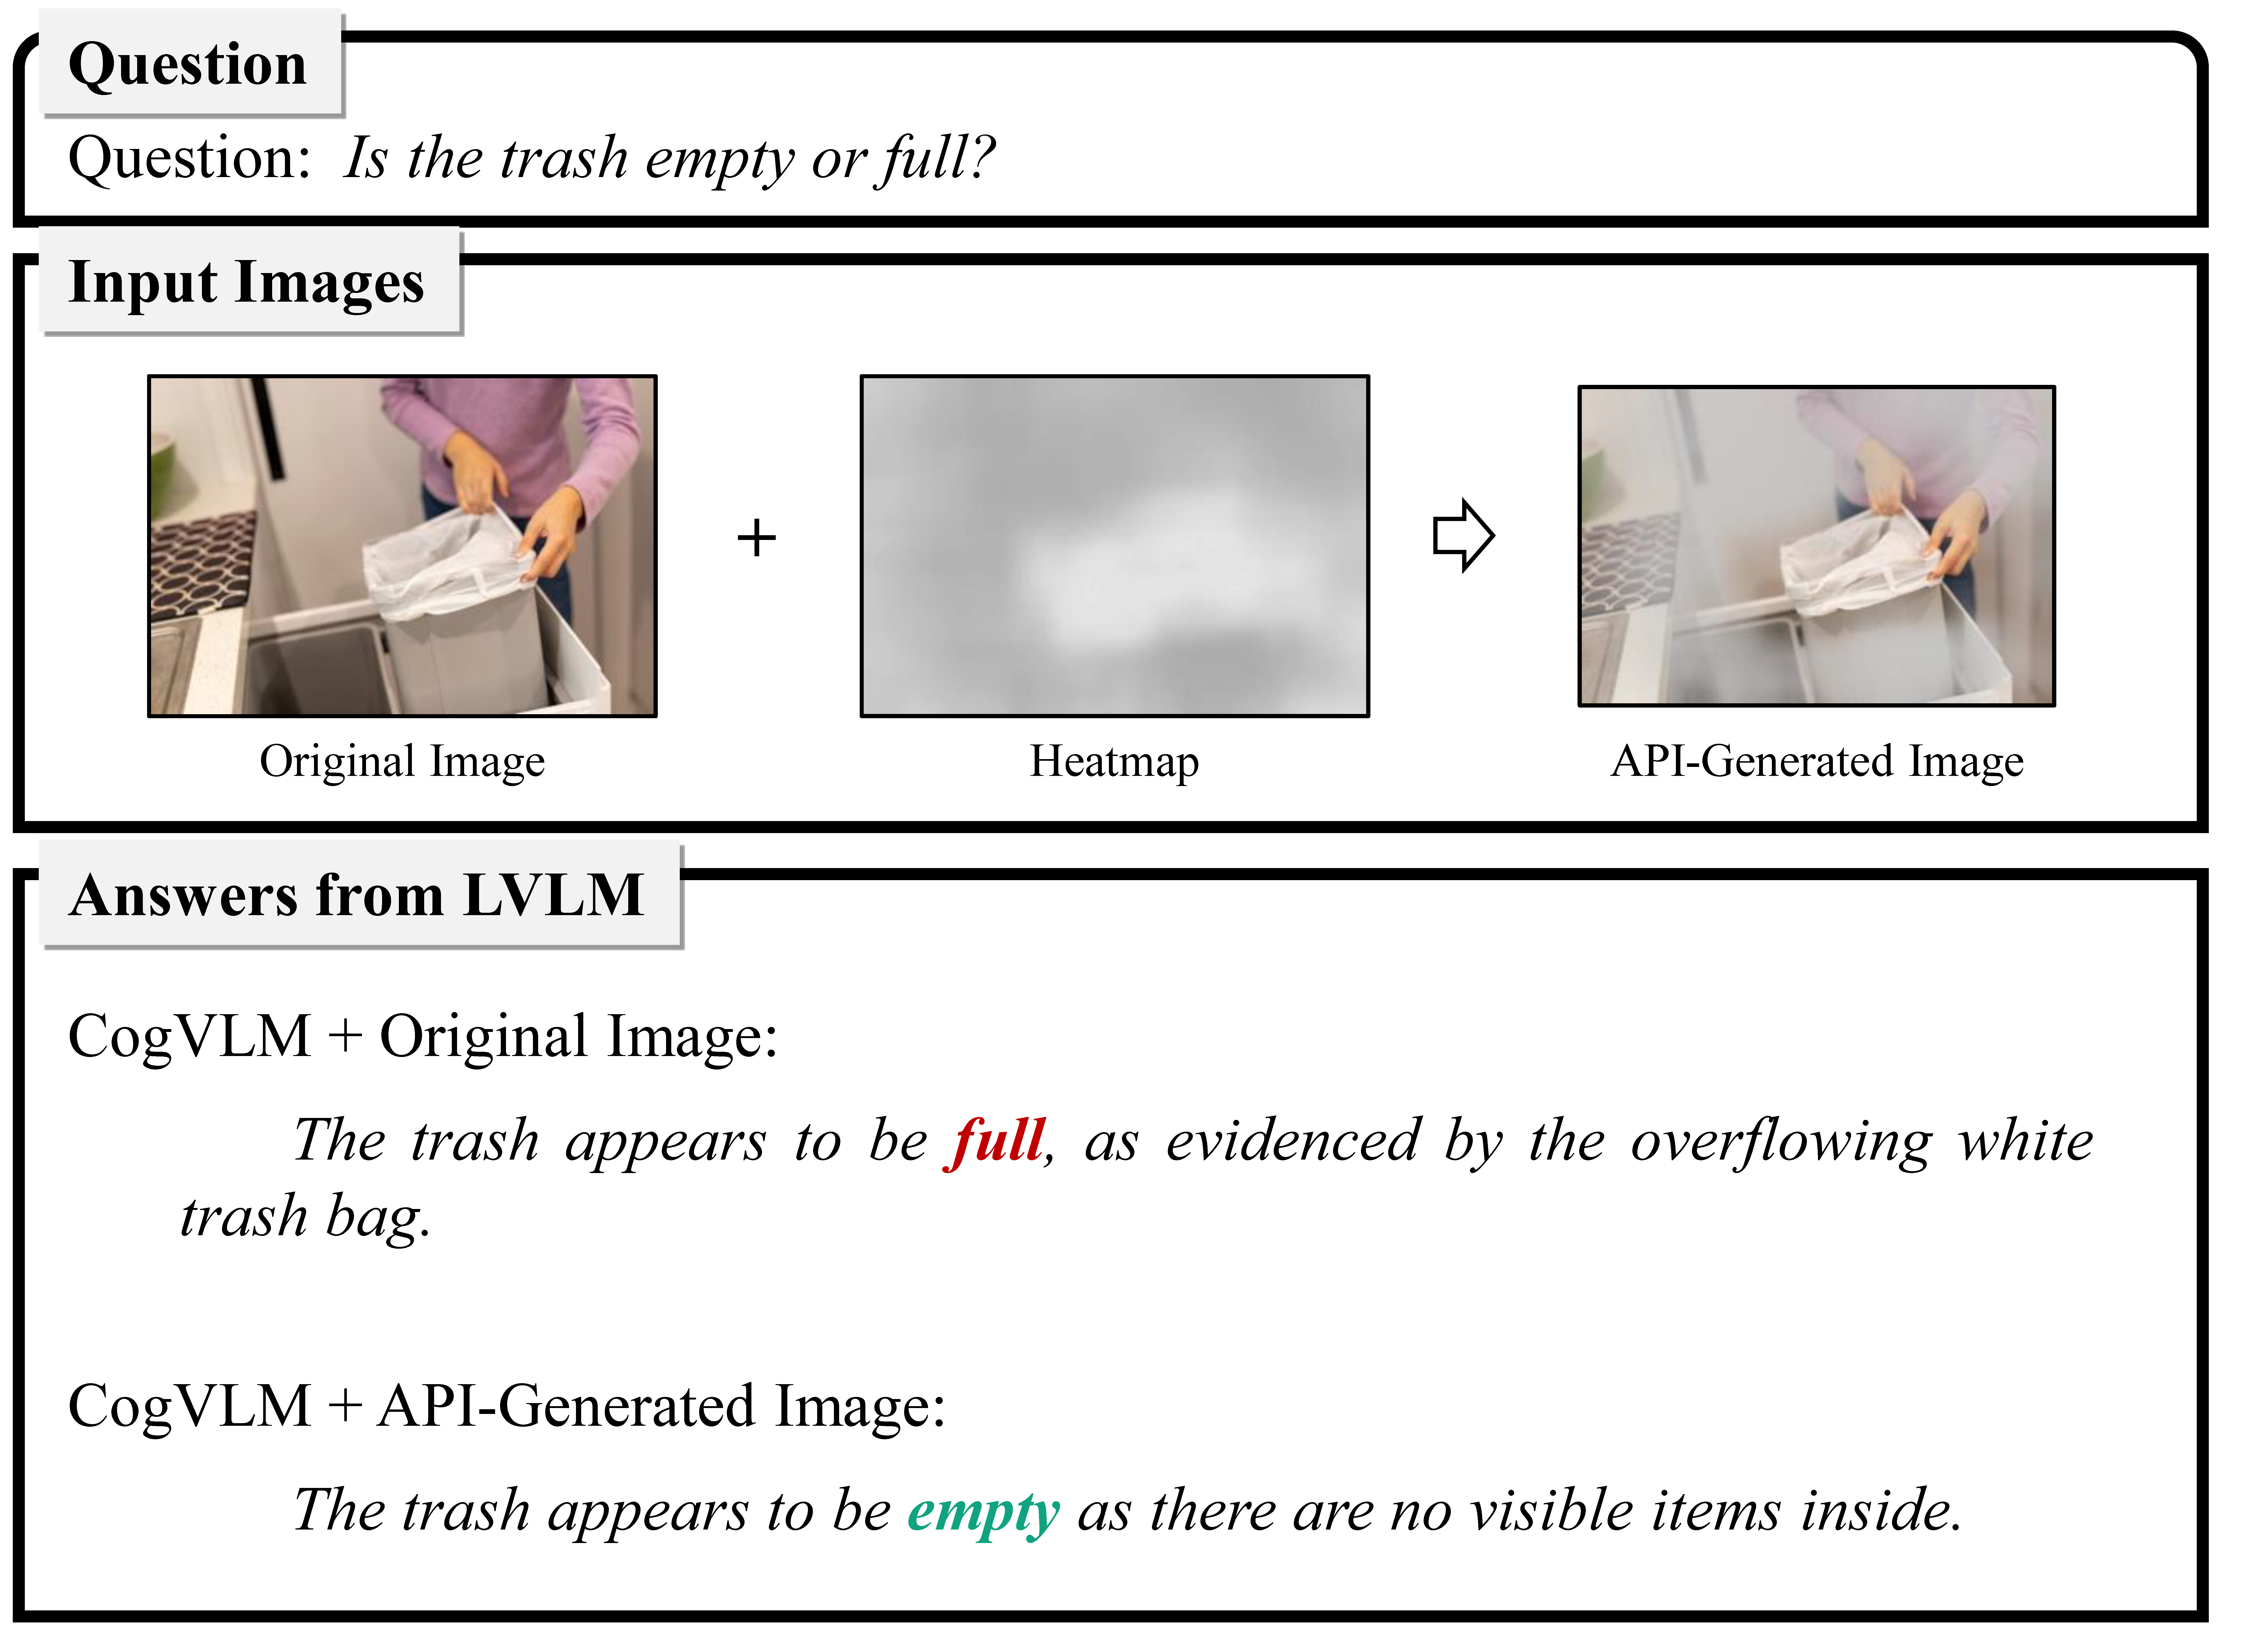
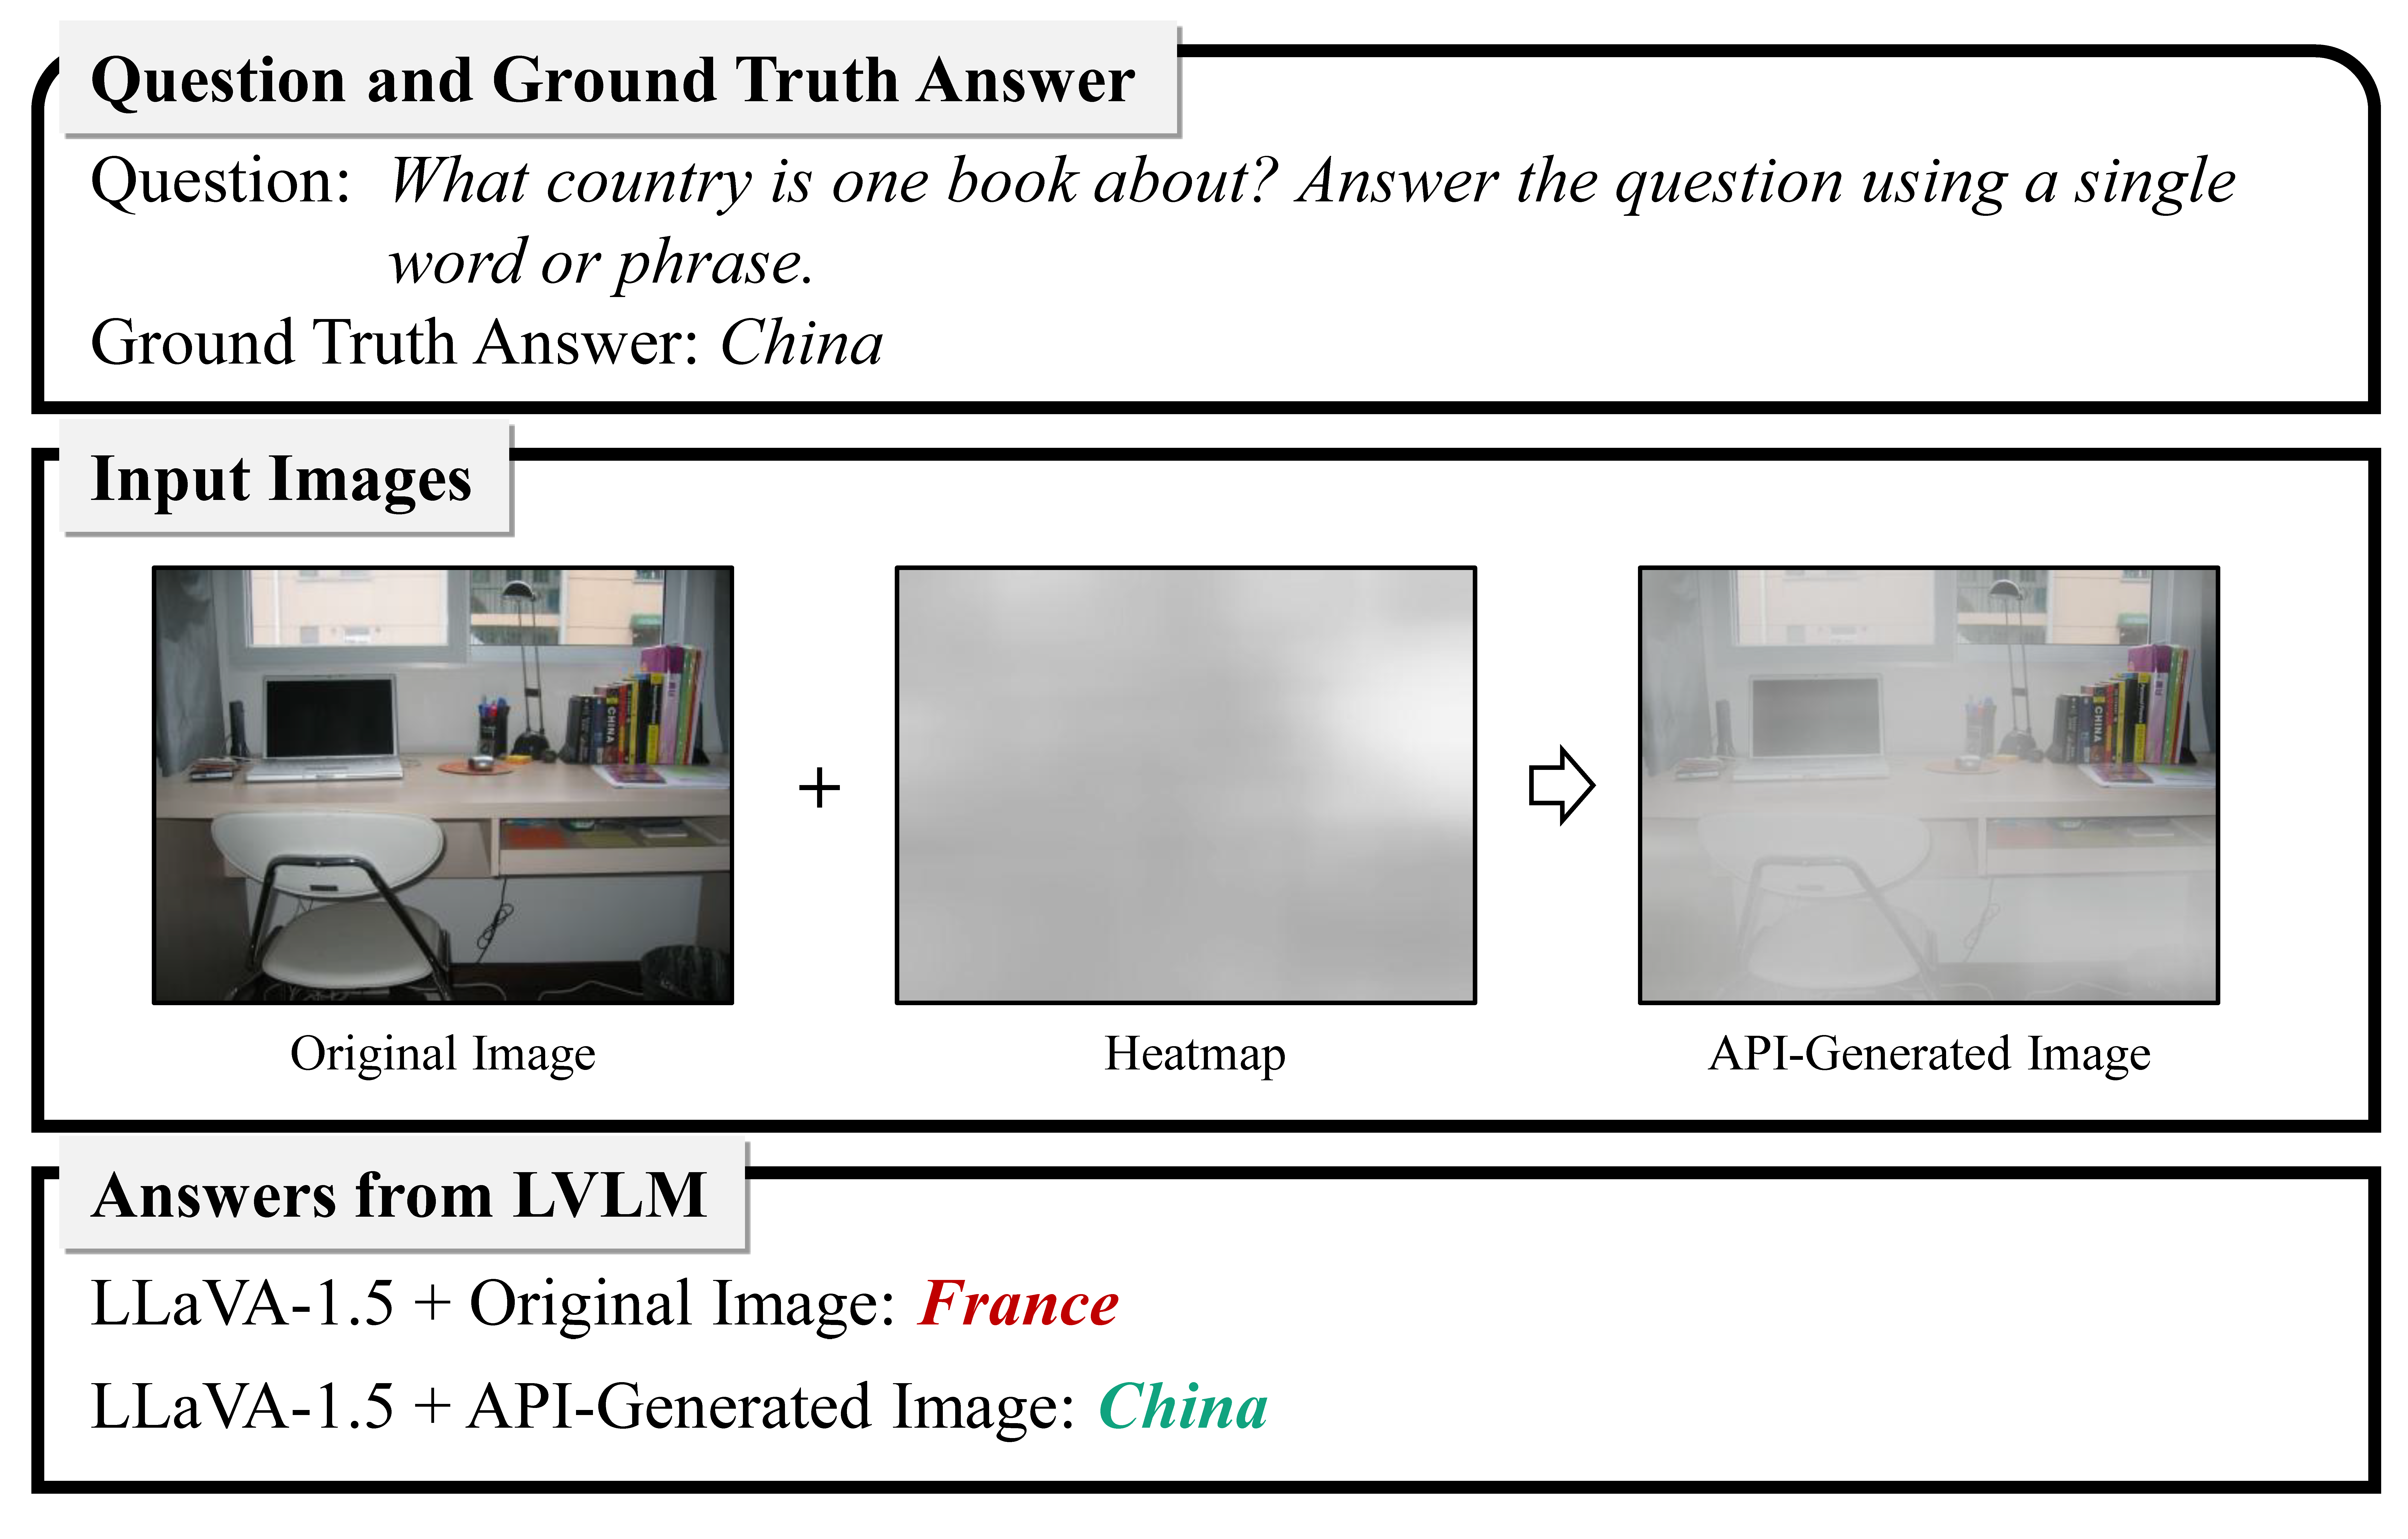
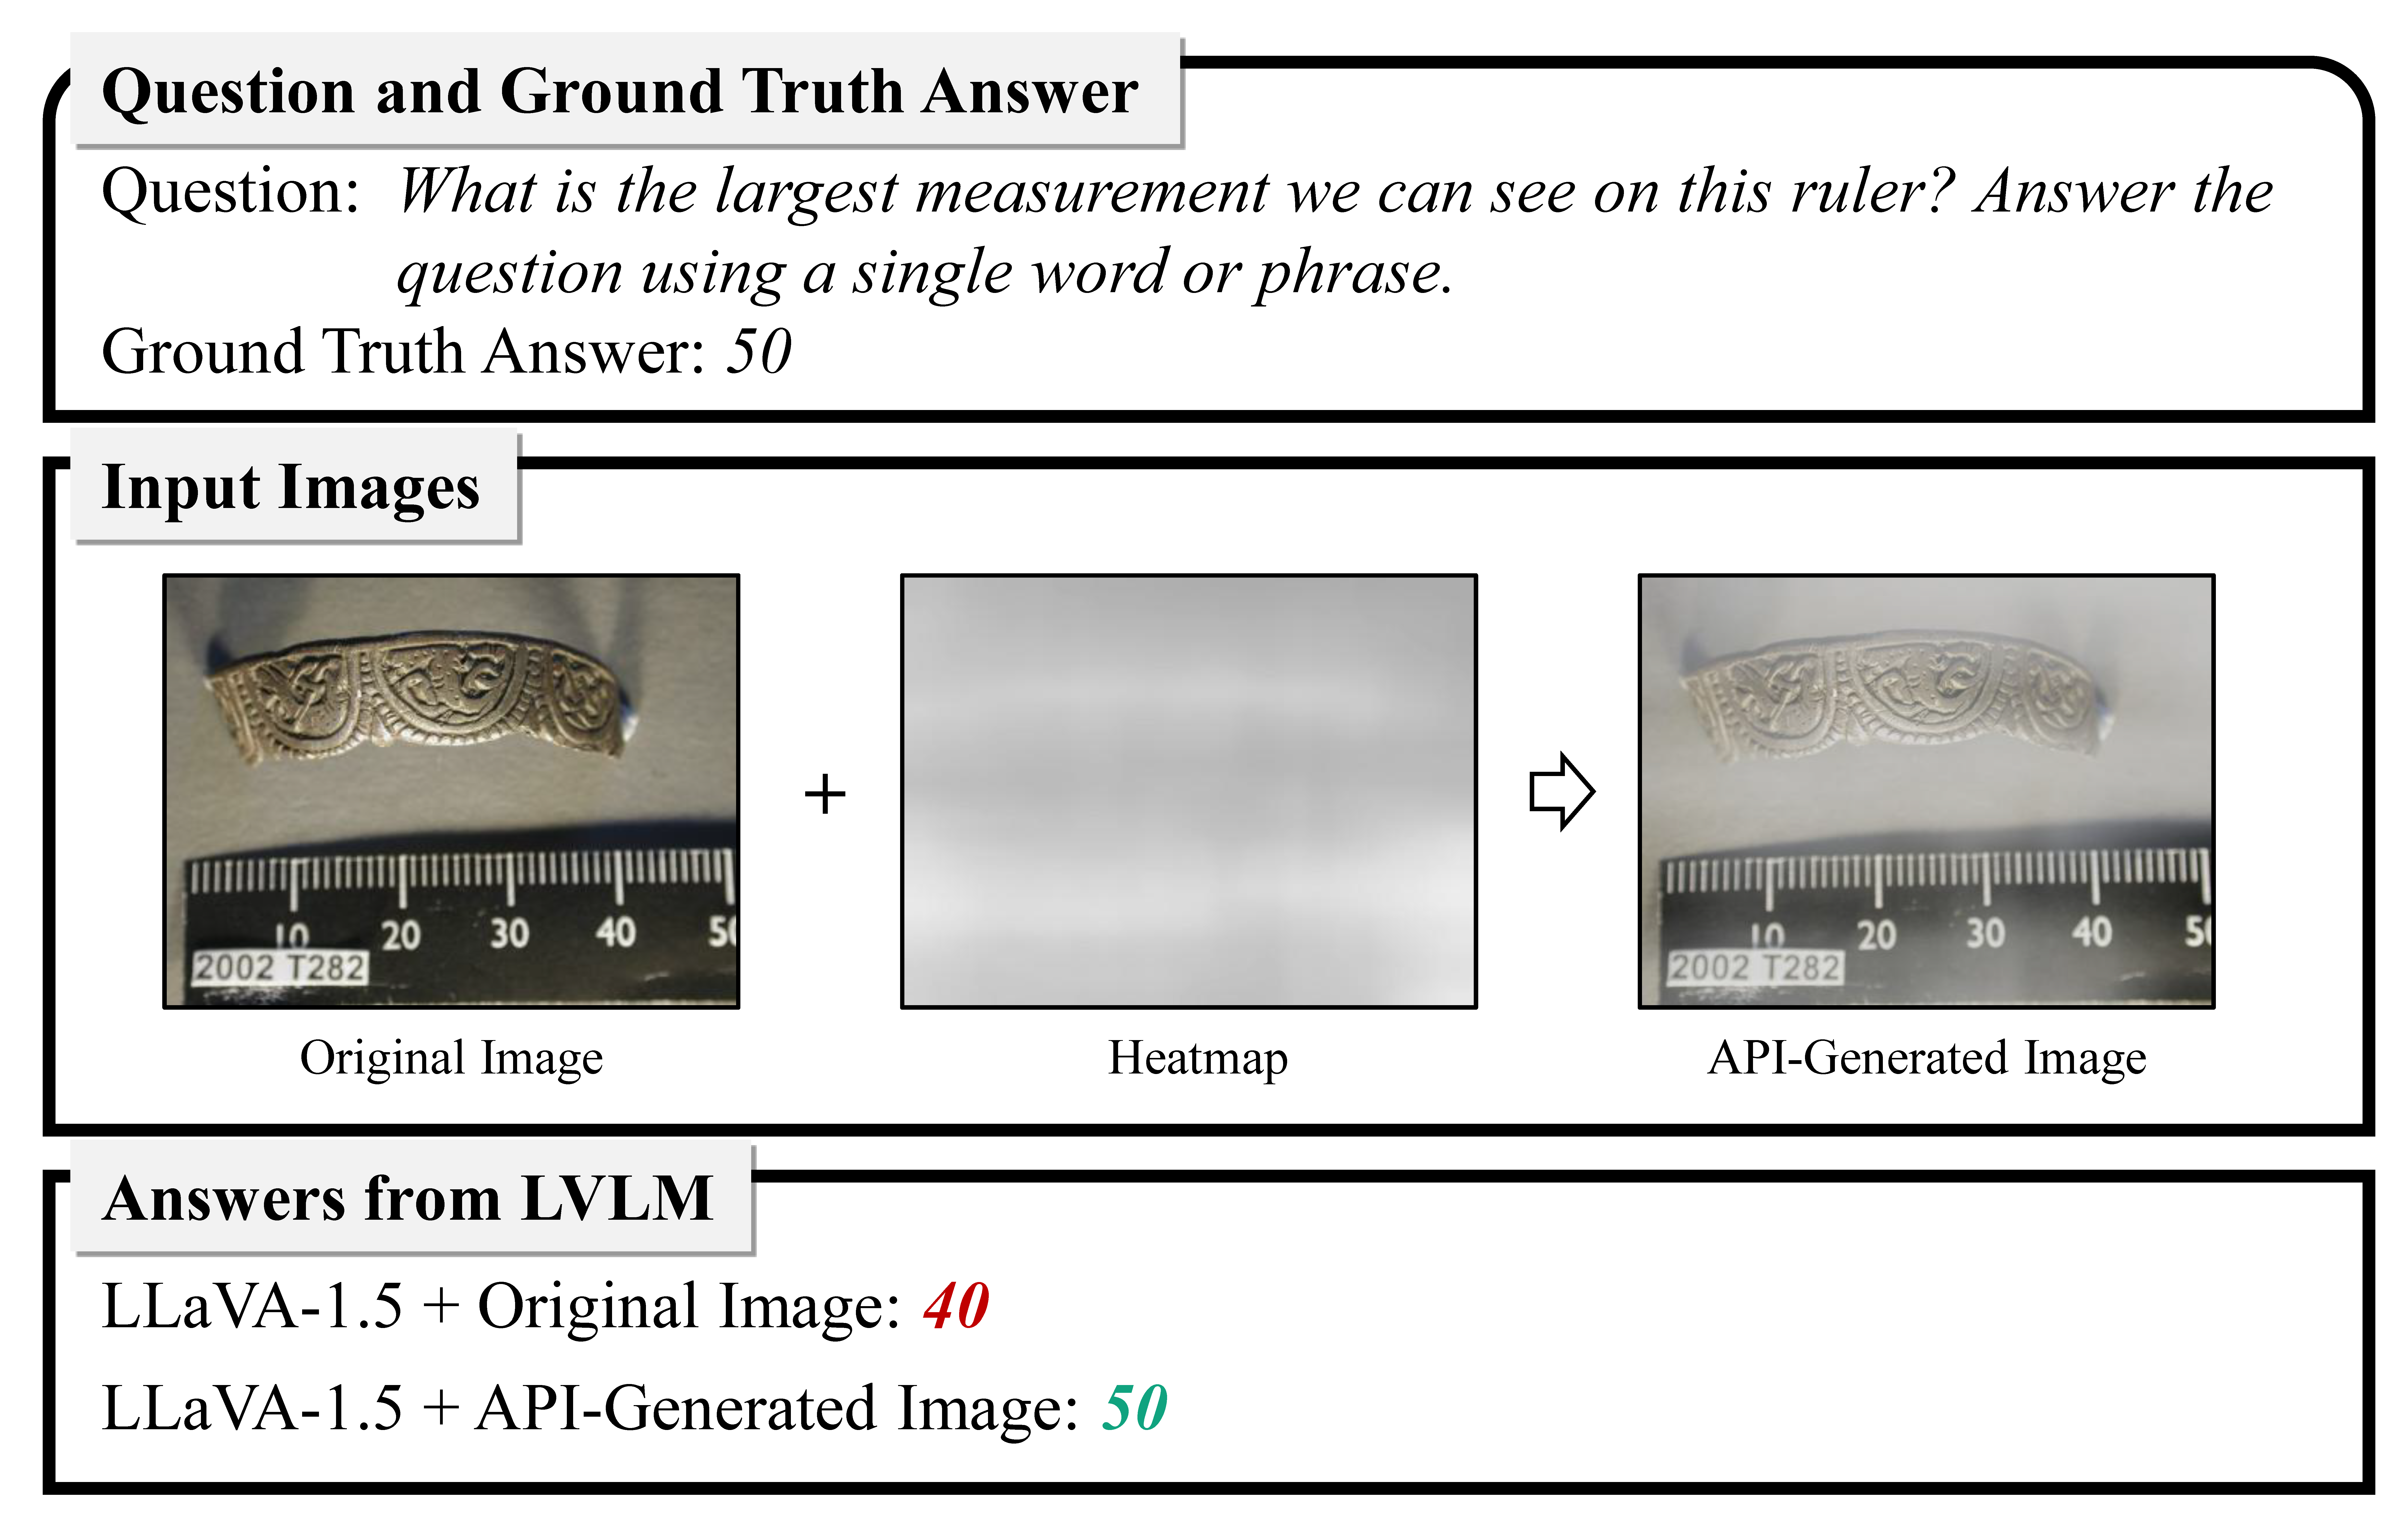
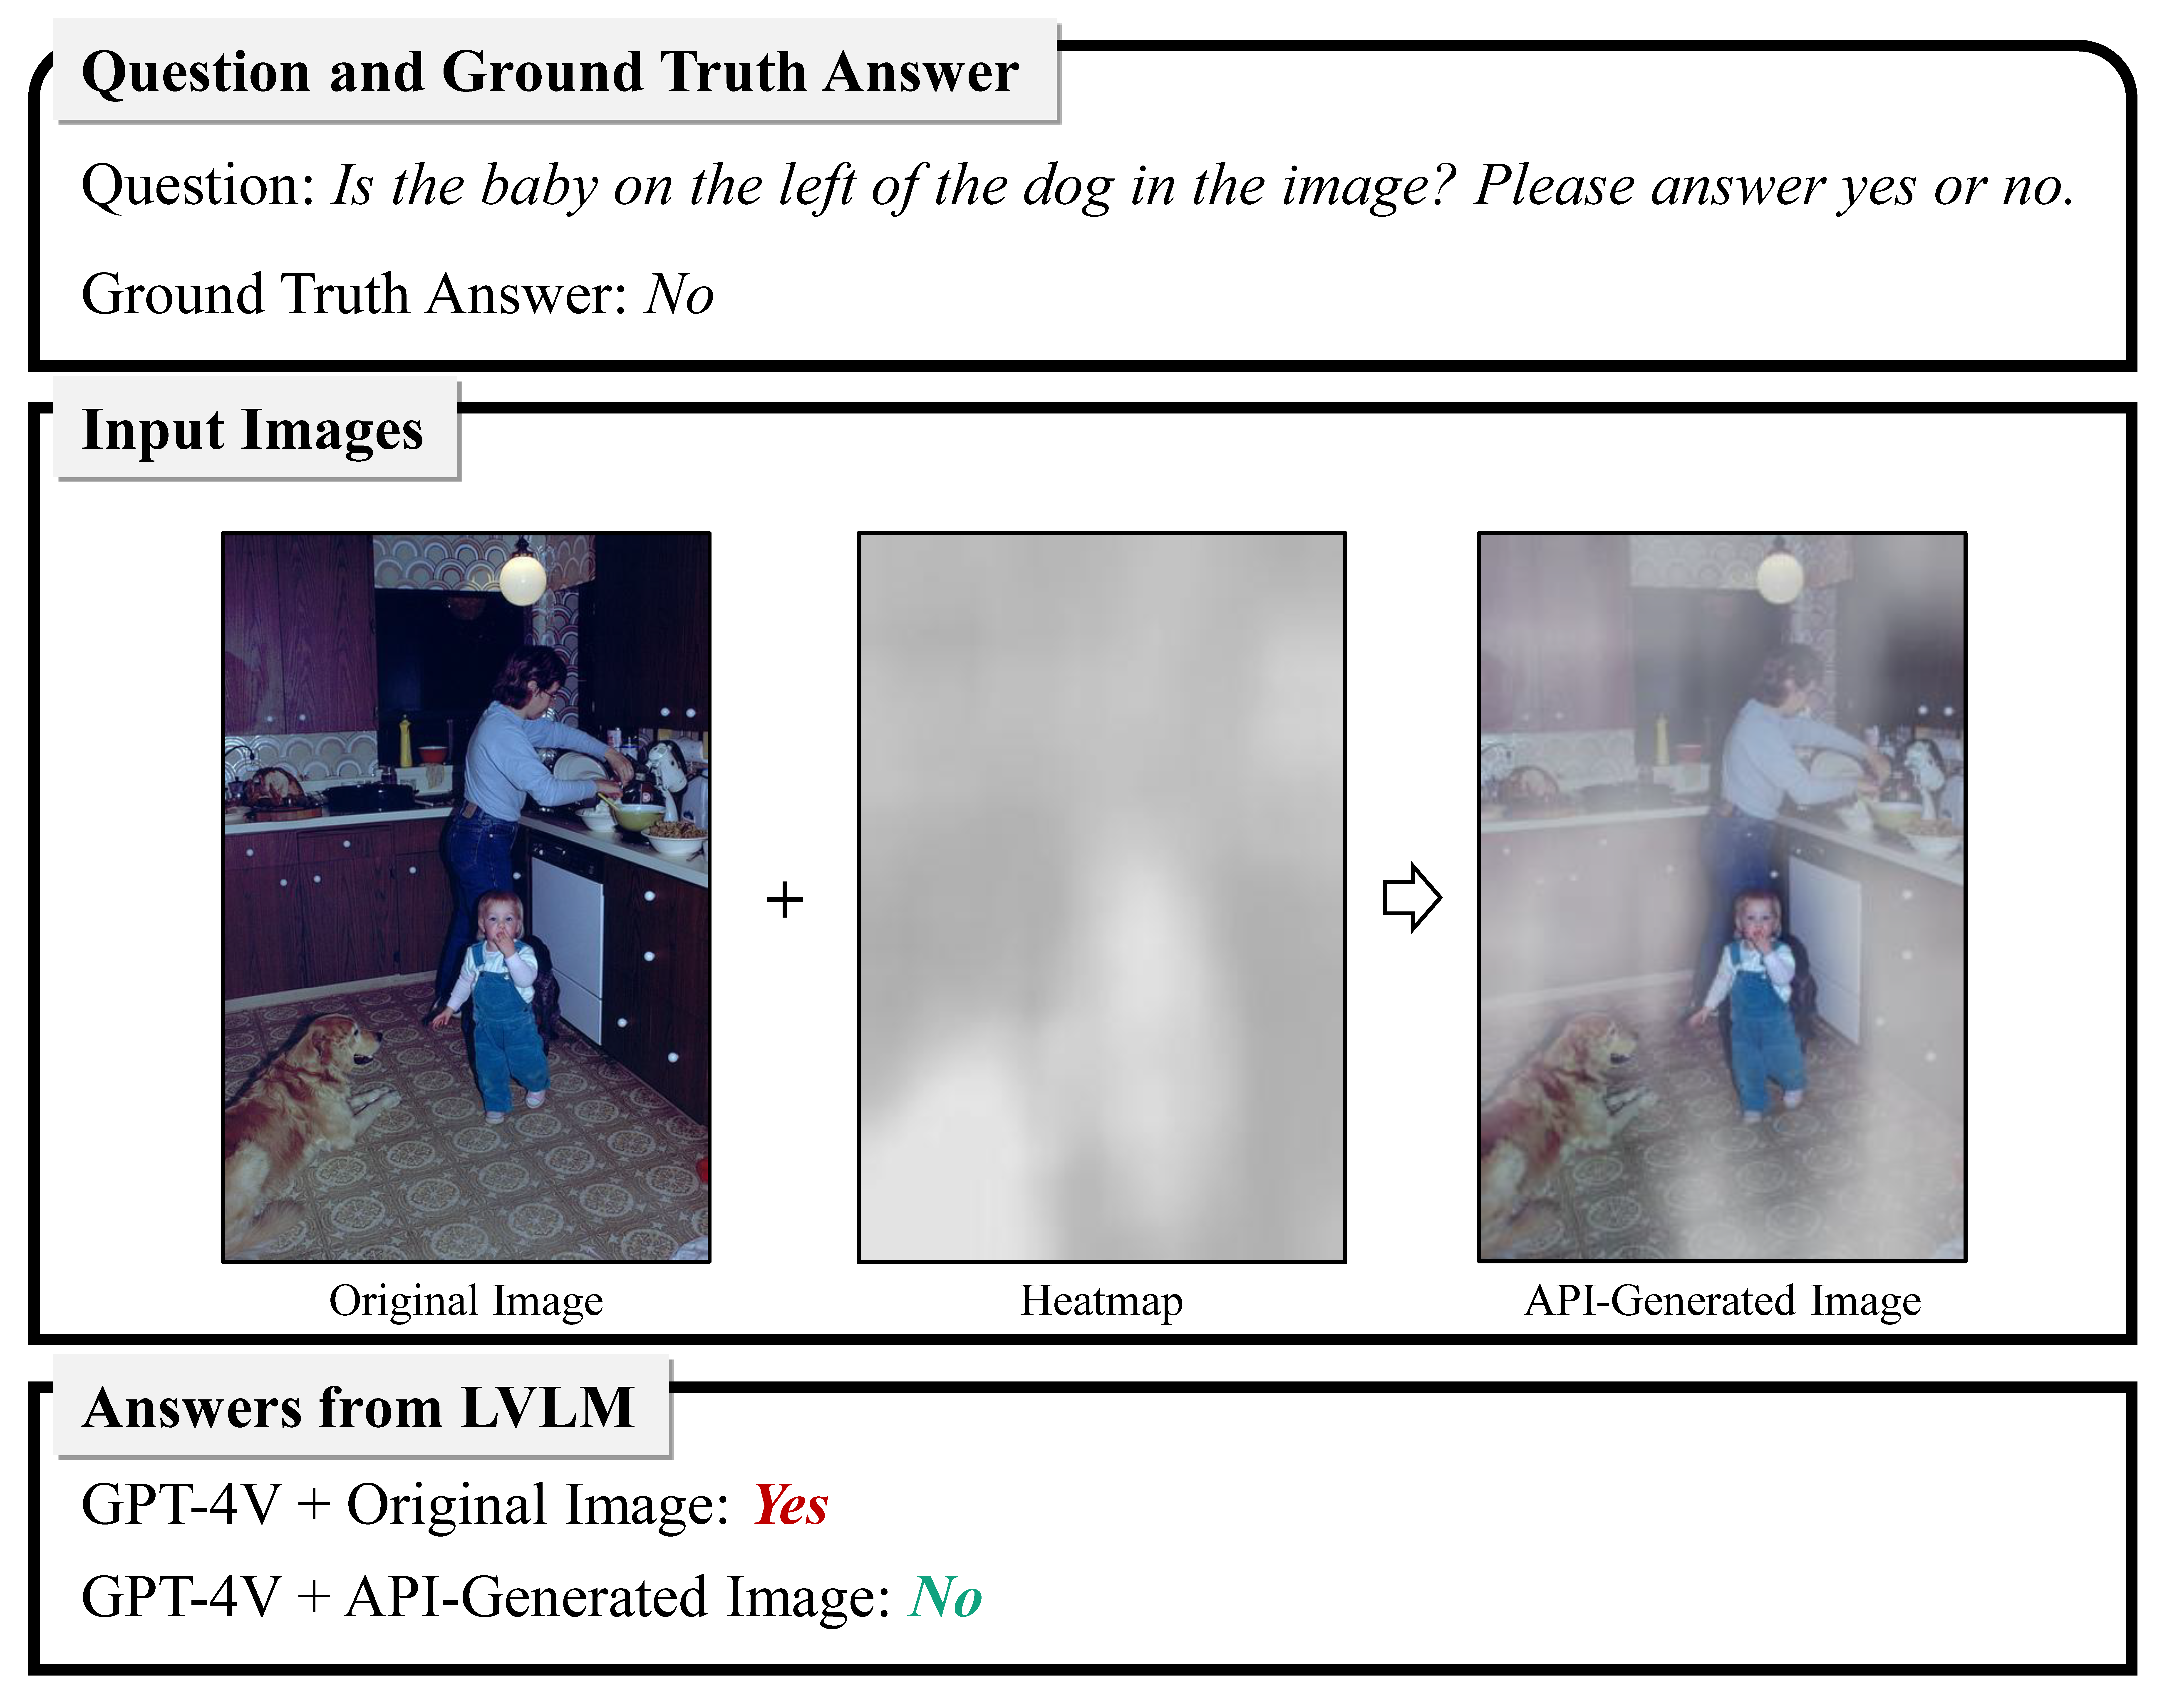
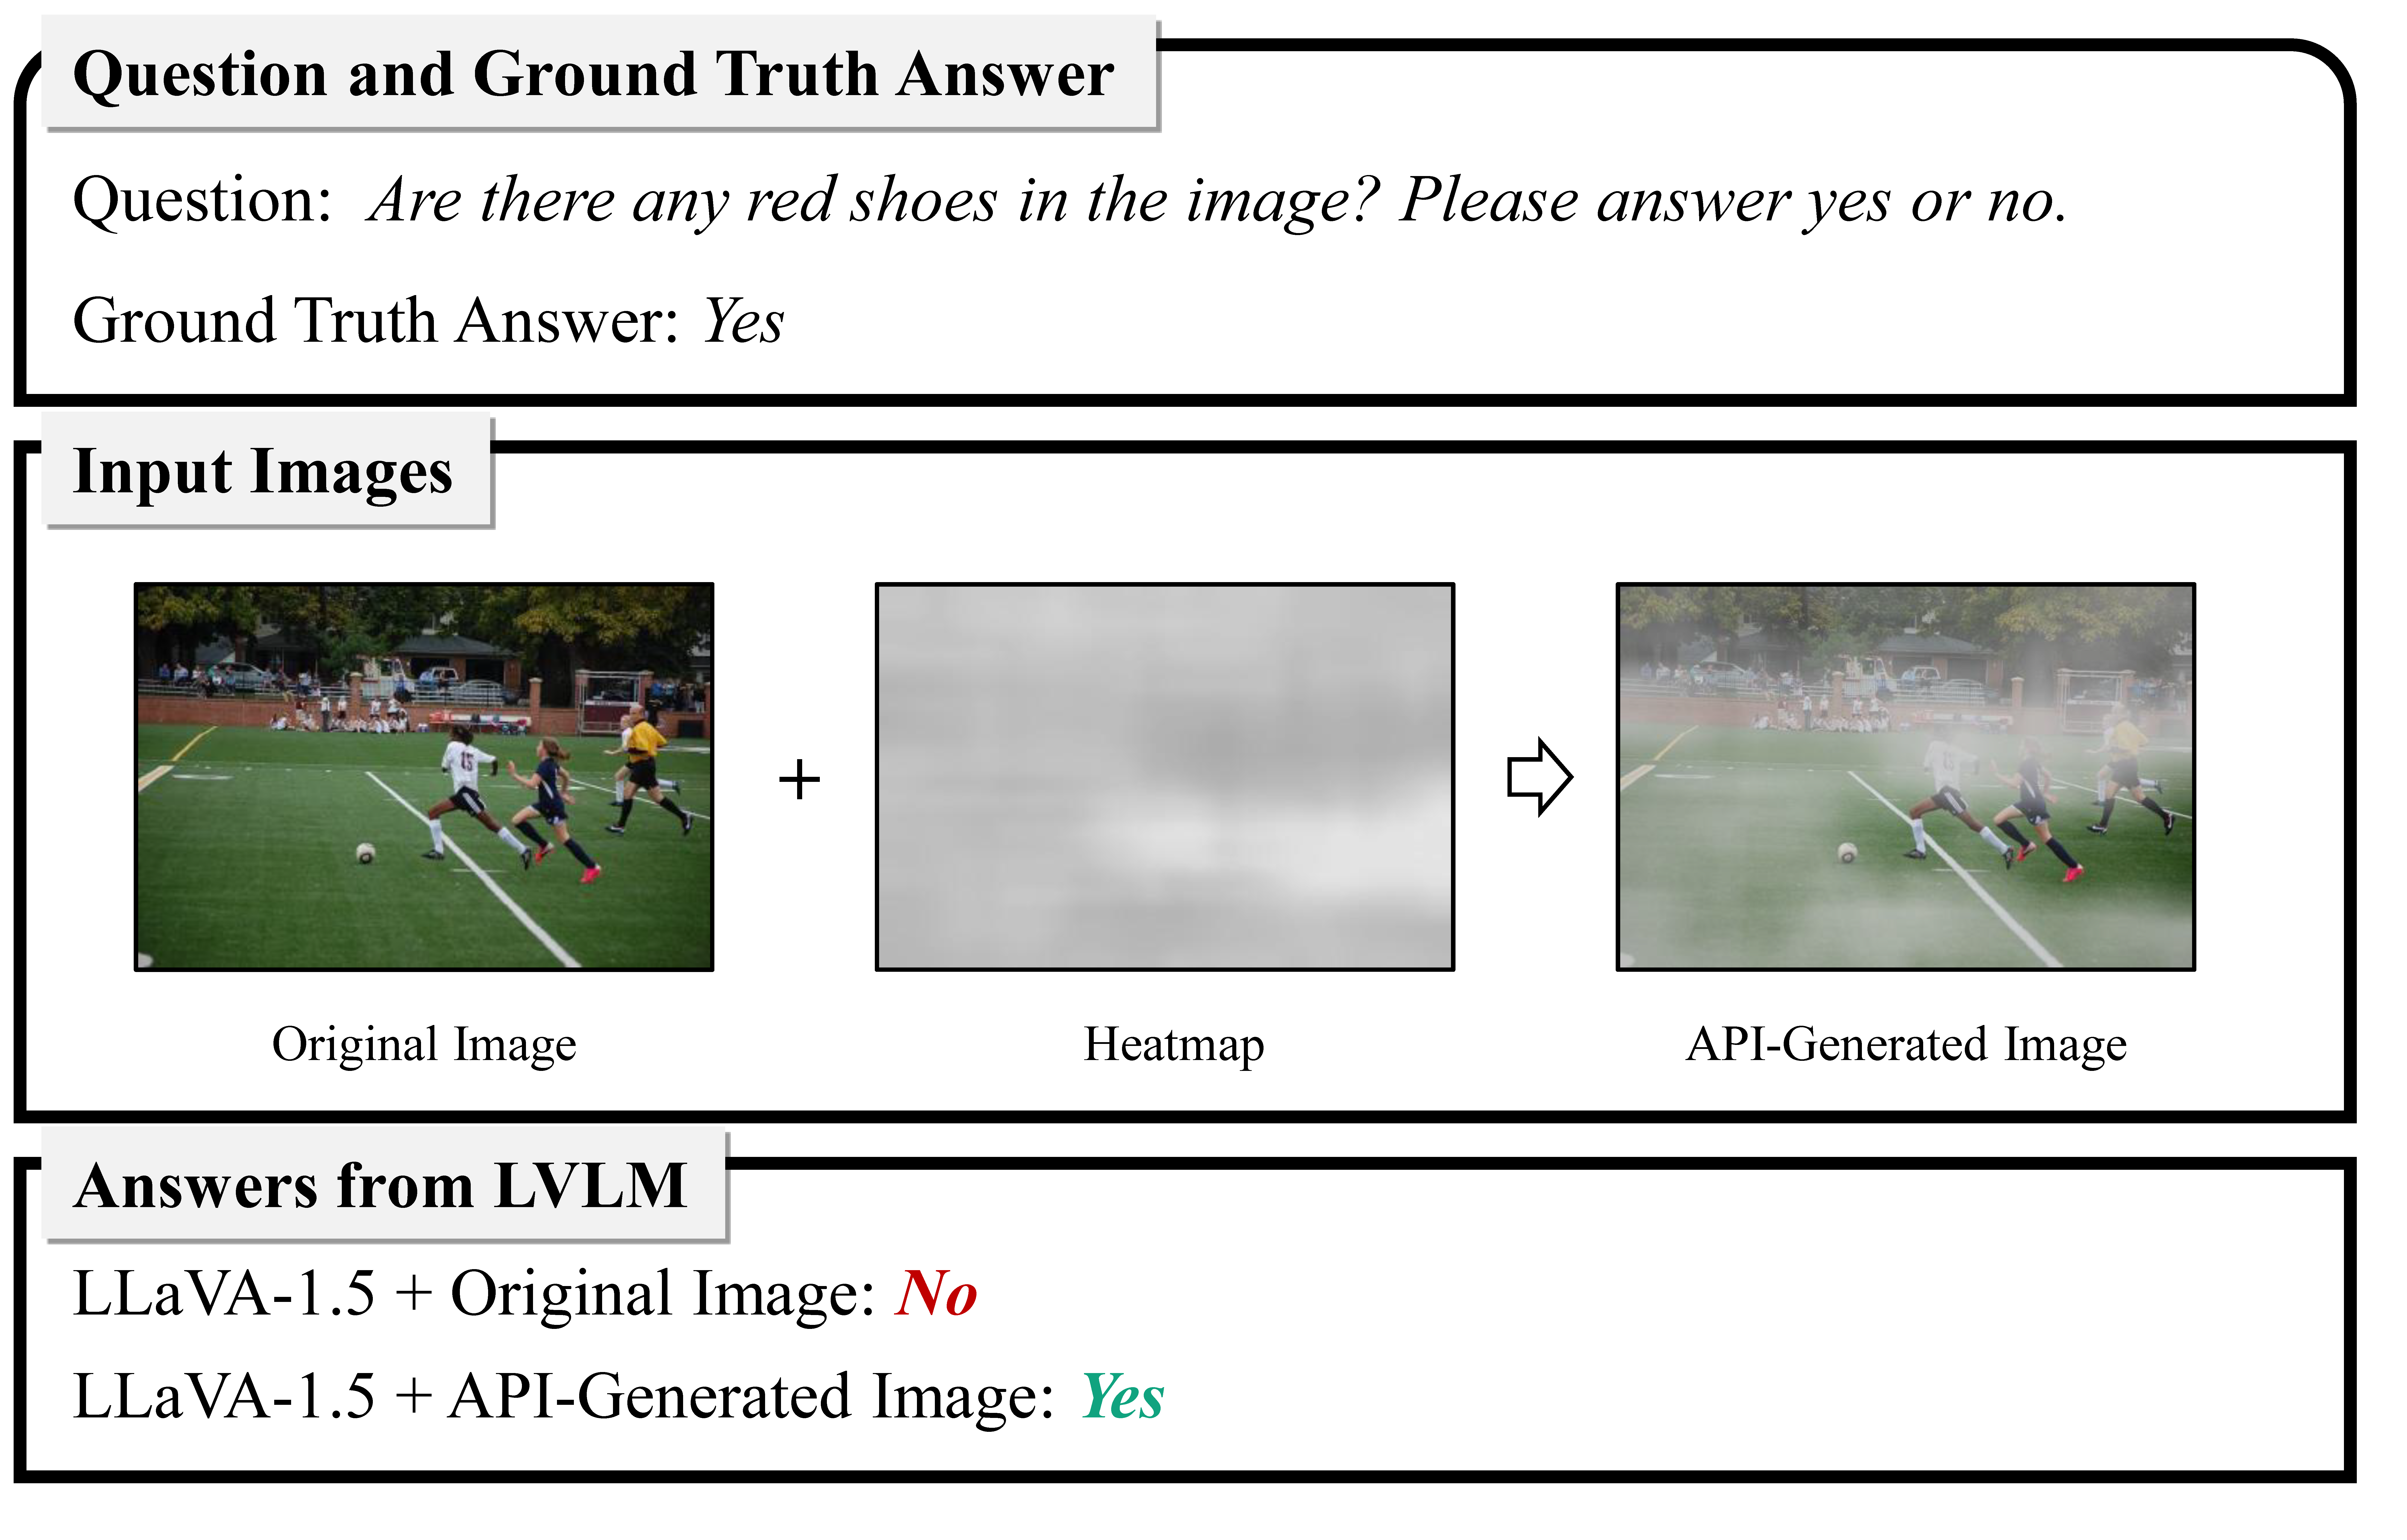
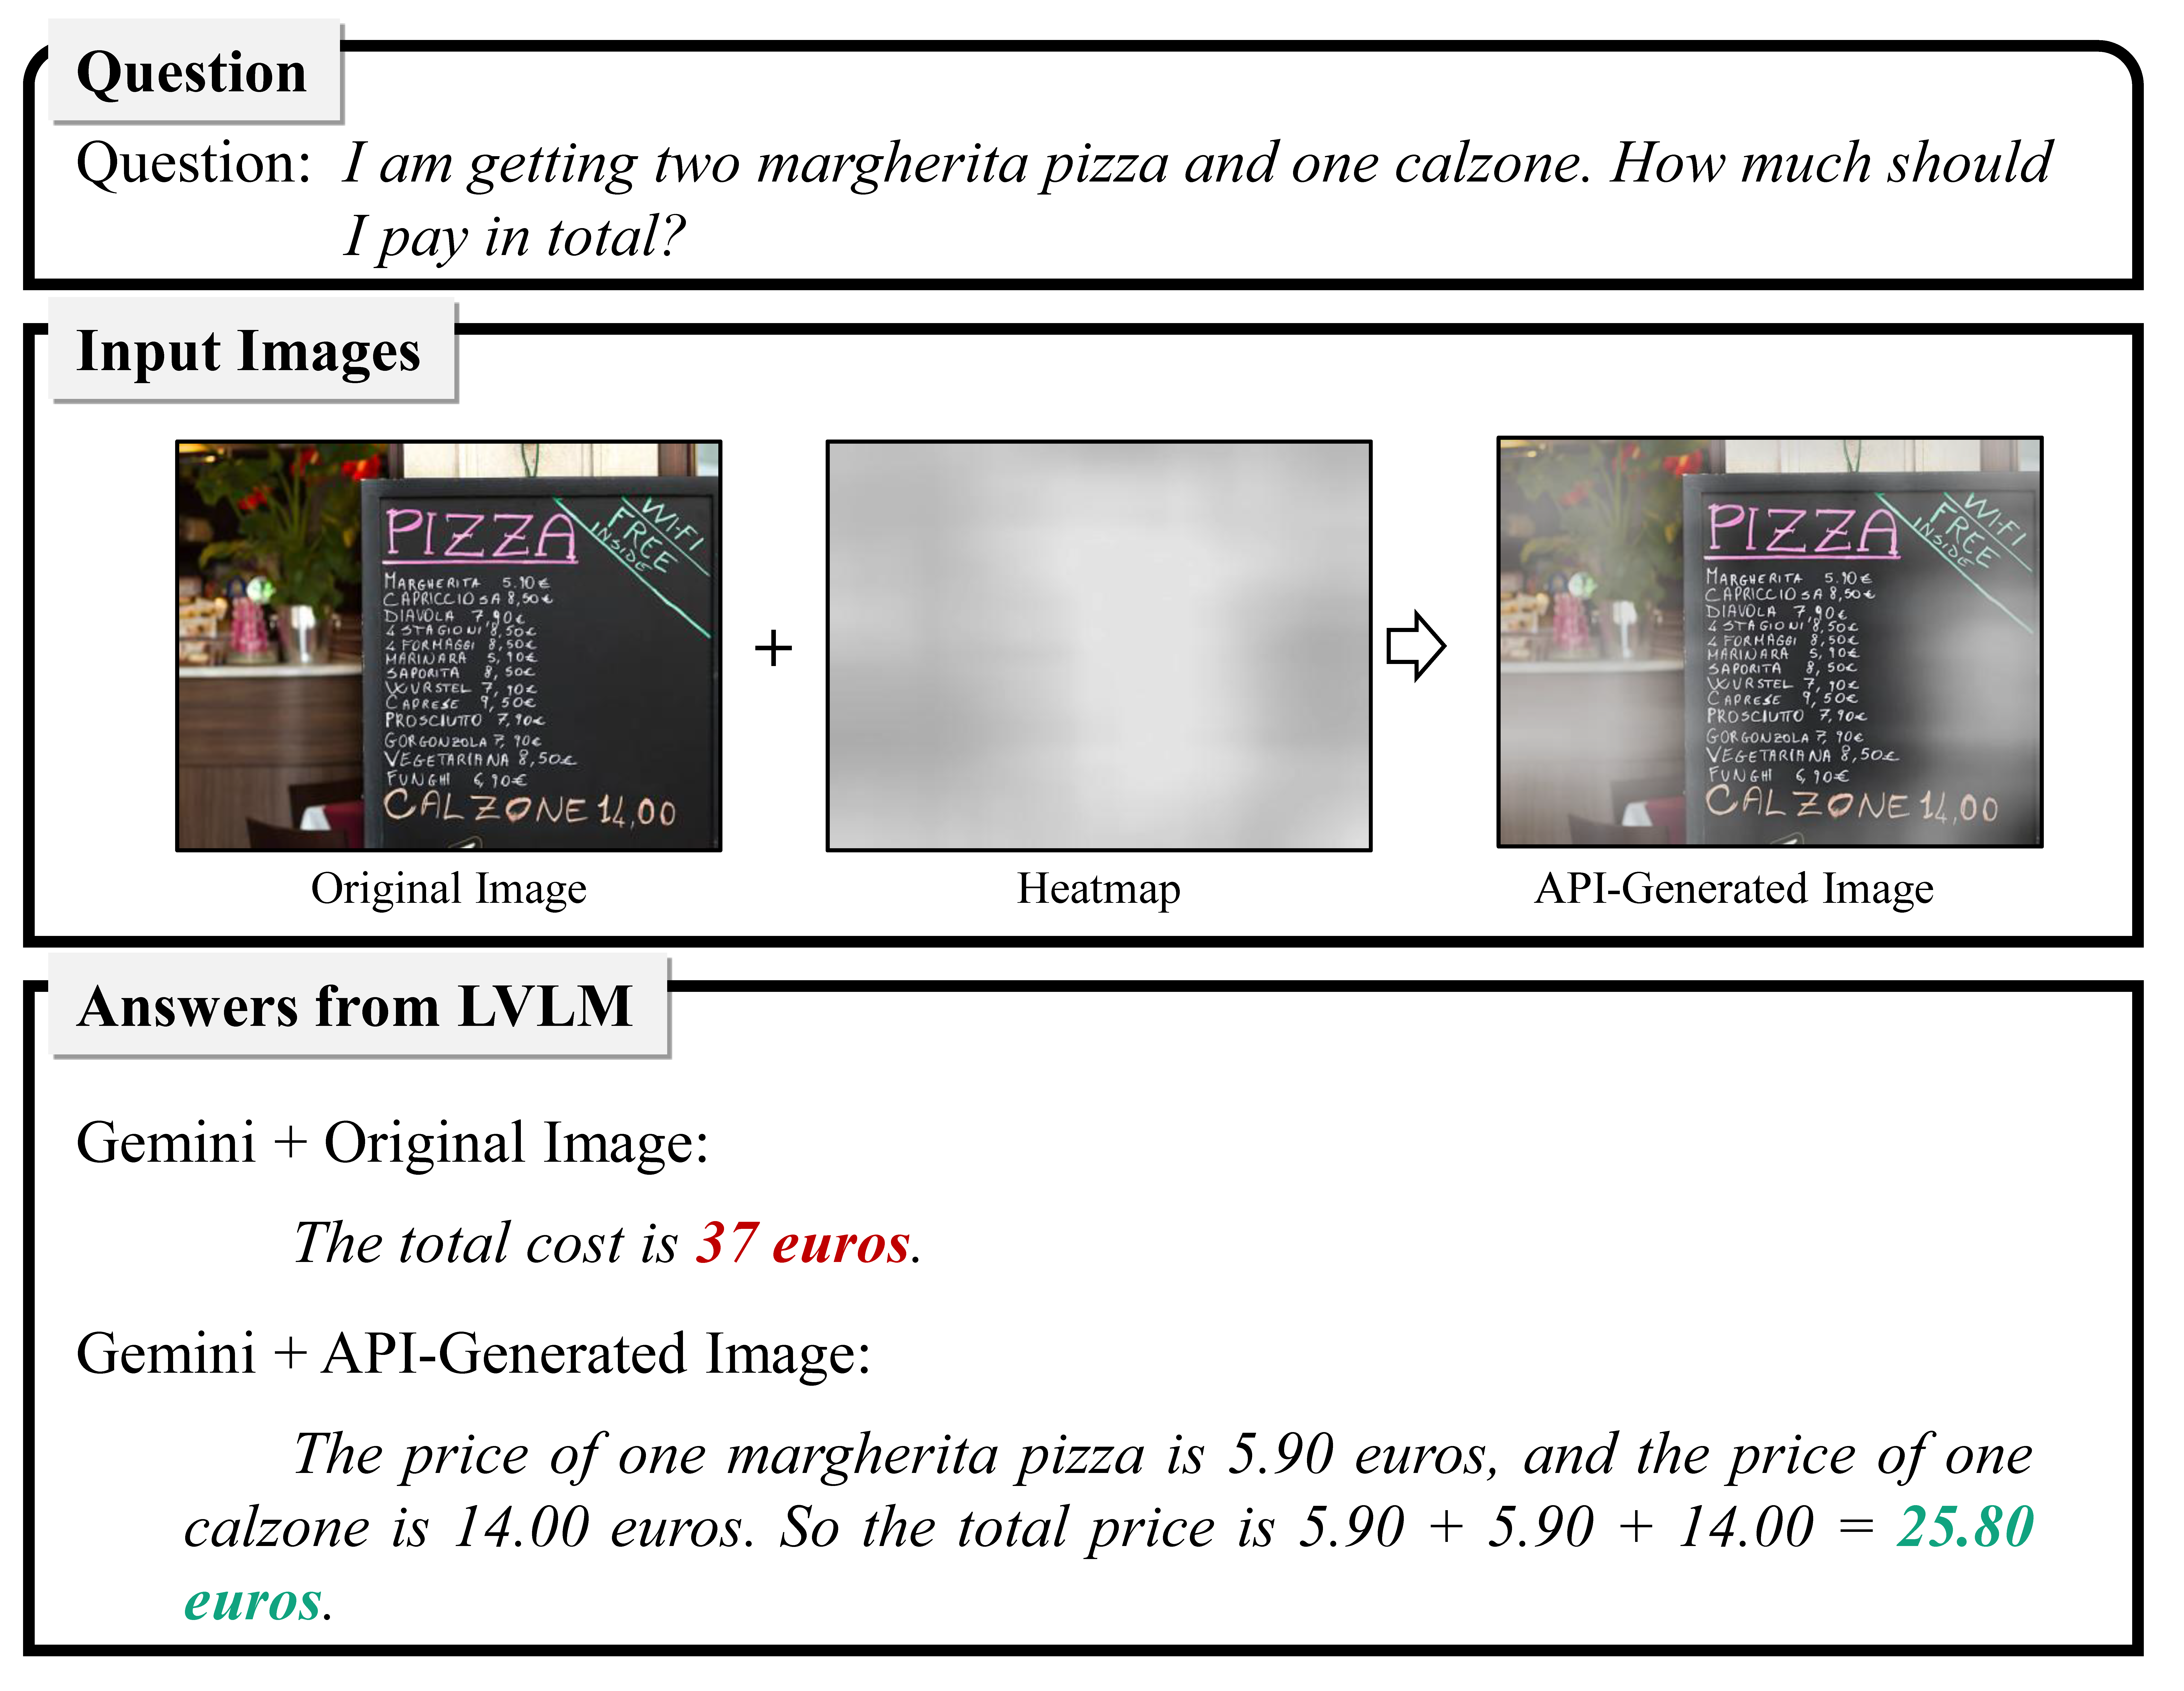
TL;DR (1) - Add an adaptive mask onto the image to enhance LVLM performance.
TL;DR (2) - Mask is generated by an auxiliary LVLM based on the relevance between the image regions and the query.
[Paper] [Playground] [Project Page] [Python Package] [Demo Video]
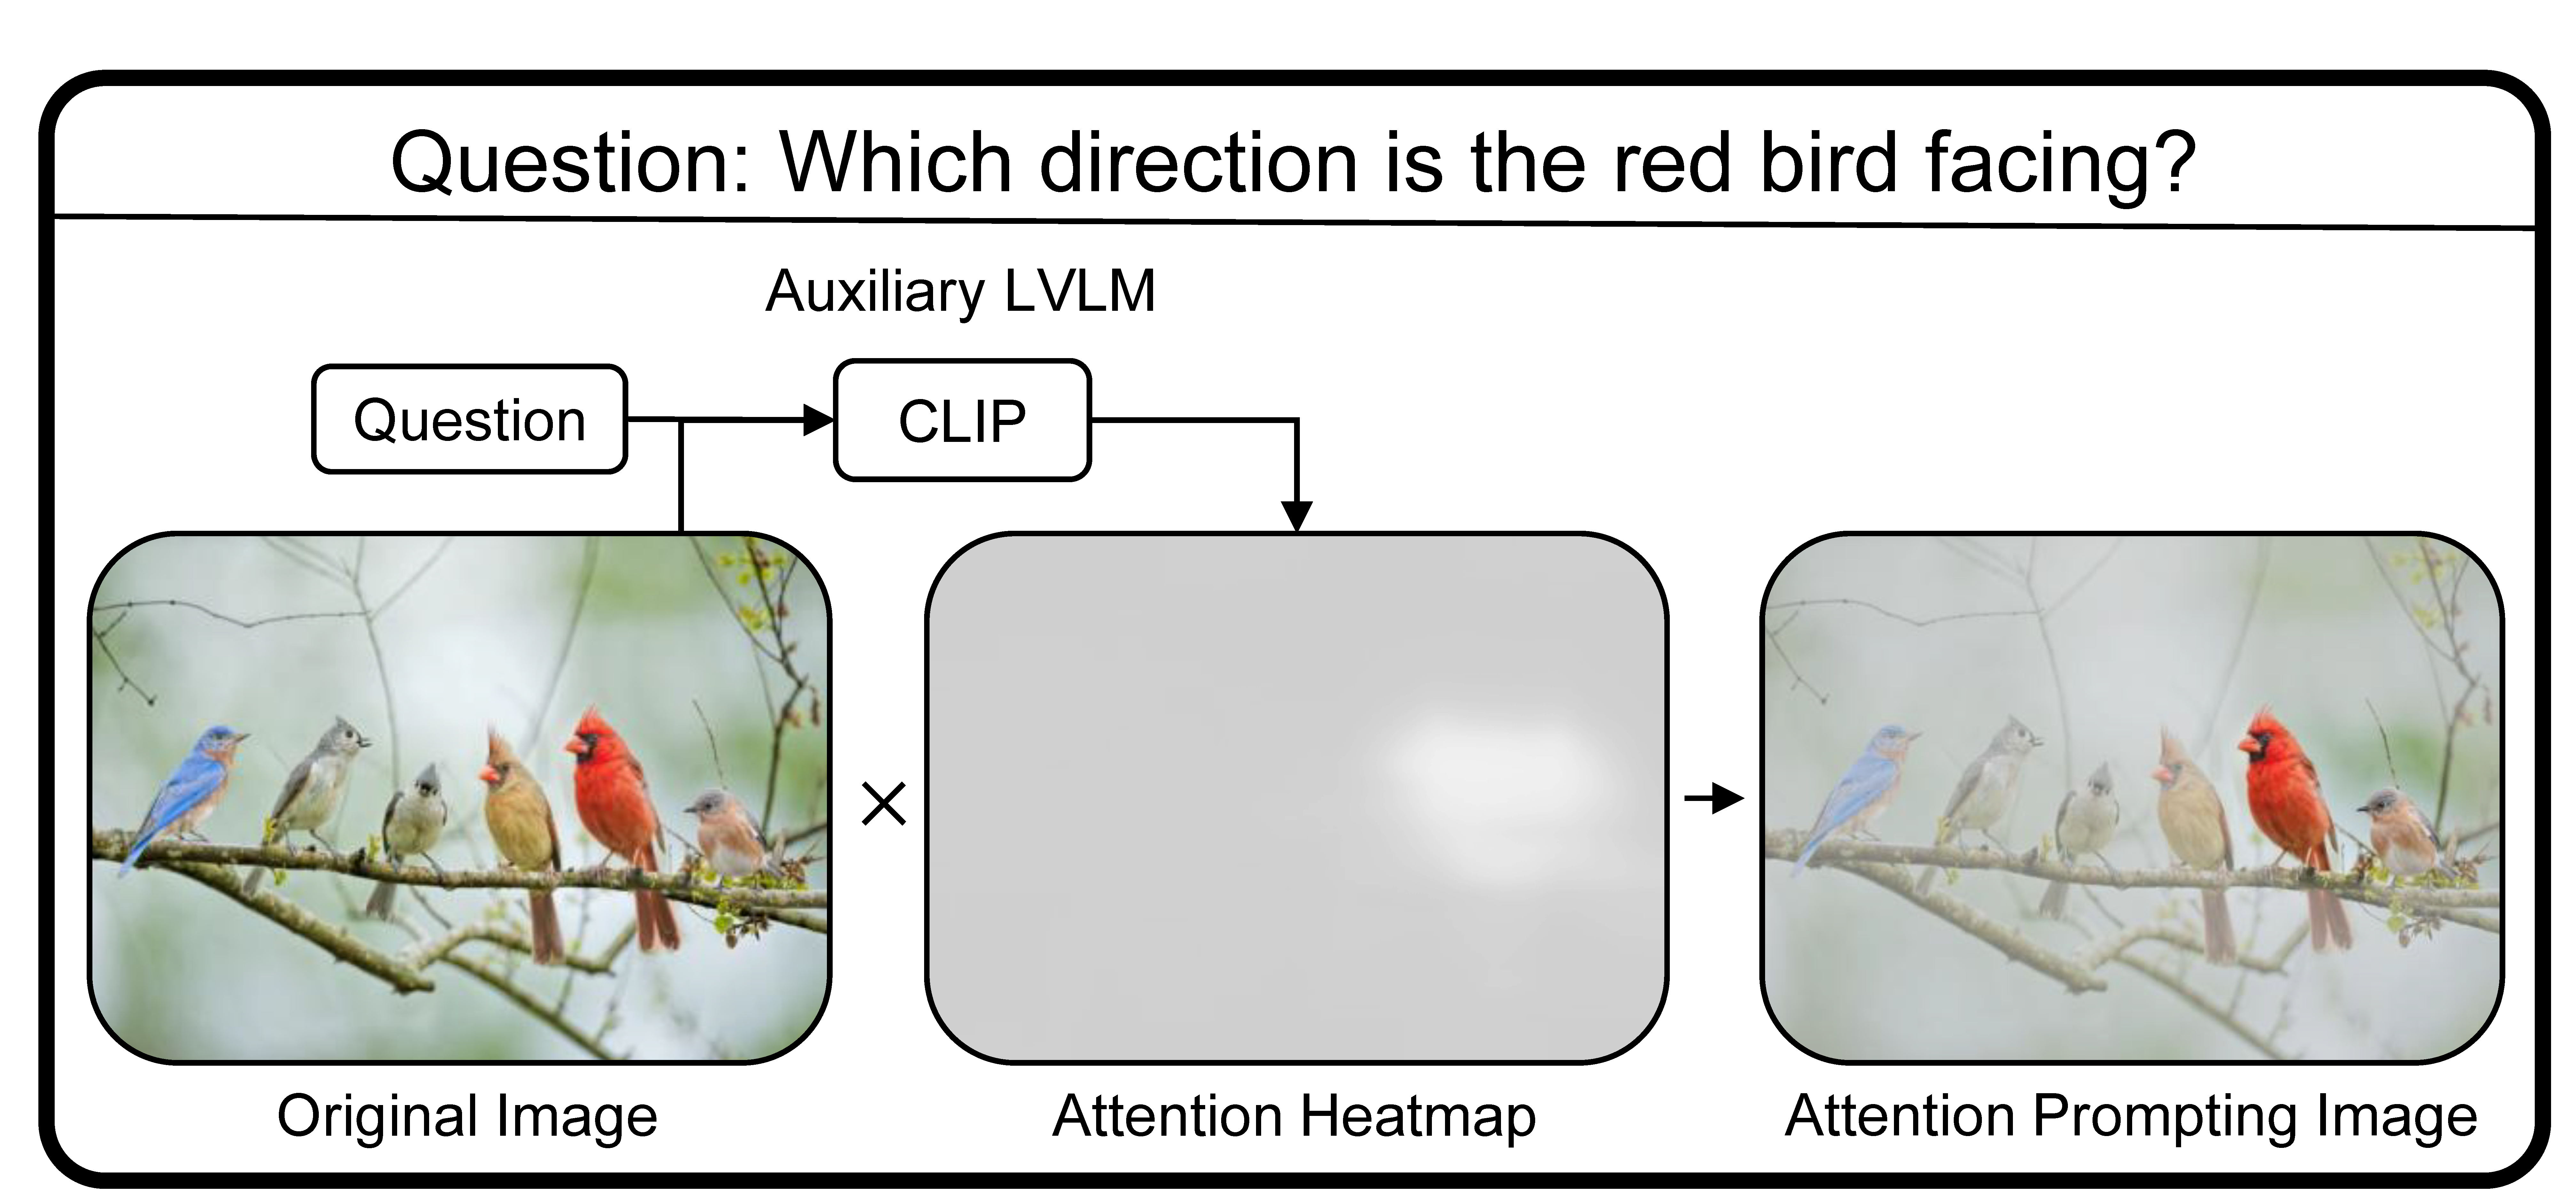 🔧 The process of using Attention Prompting on Image (API) in VQA involves two steps. First, employ an auxiliary LVLM to generate a mask. Second, overlay the mask on the original image before performing inference. For instance, an auxiliary CLIP can be used to calculate the similarity between each image patch and the query. Patches with low similarity are assigned a heavier mask, while patches with high similarity remain unmasked. Such mask serves as a visual cue to guide the VLM during inference, directing attention to regions of the image relevant to the question.
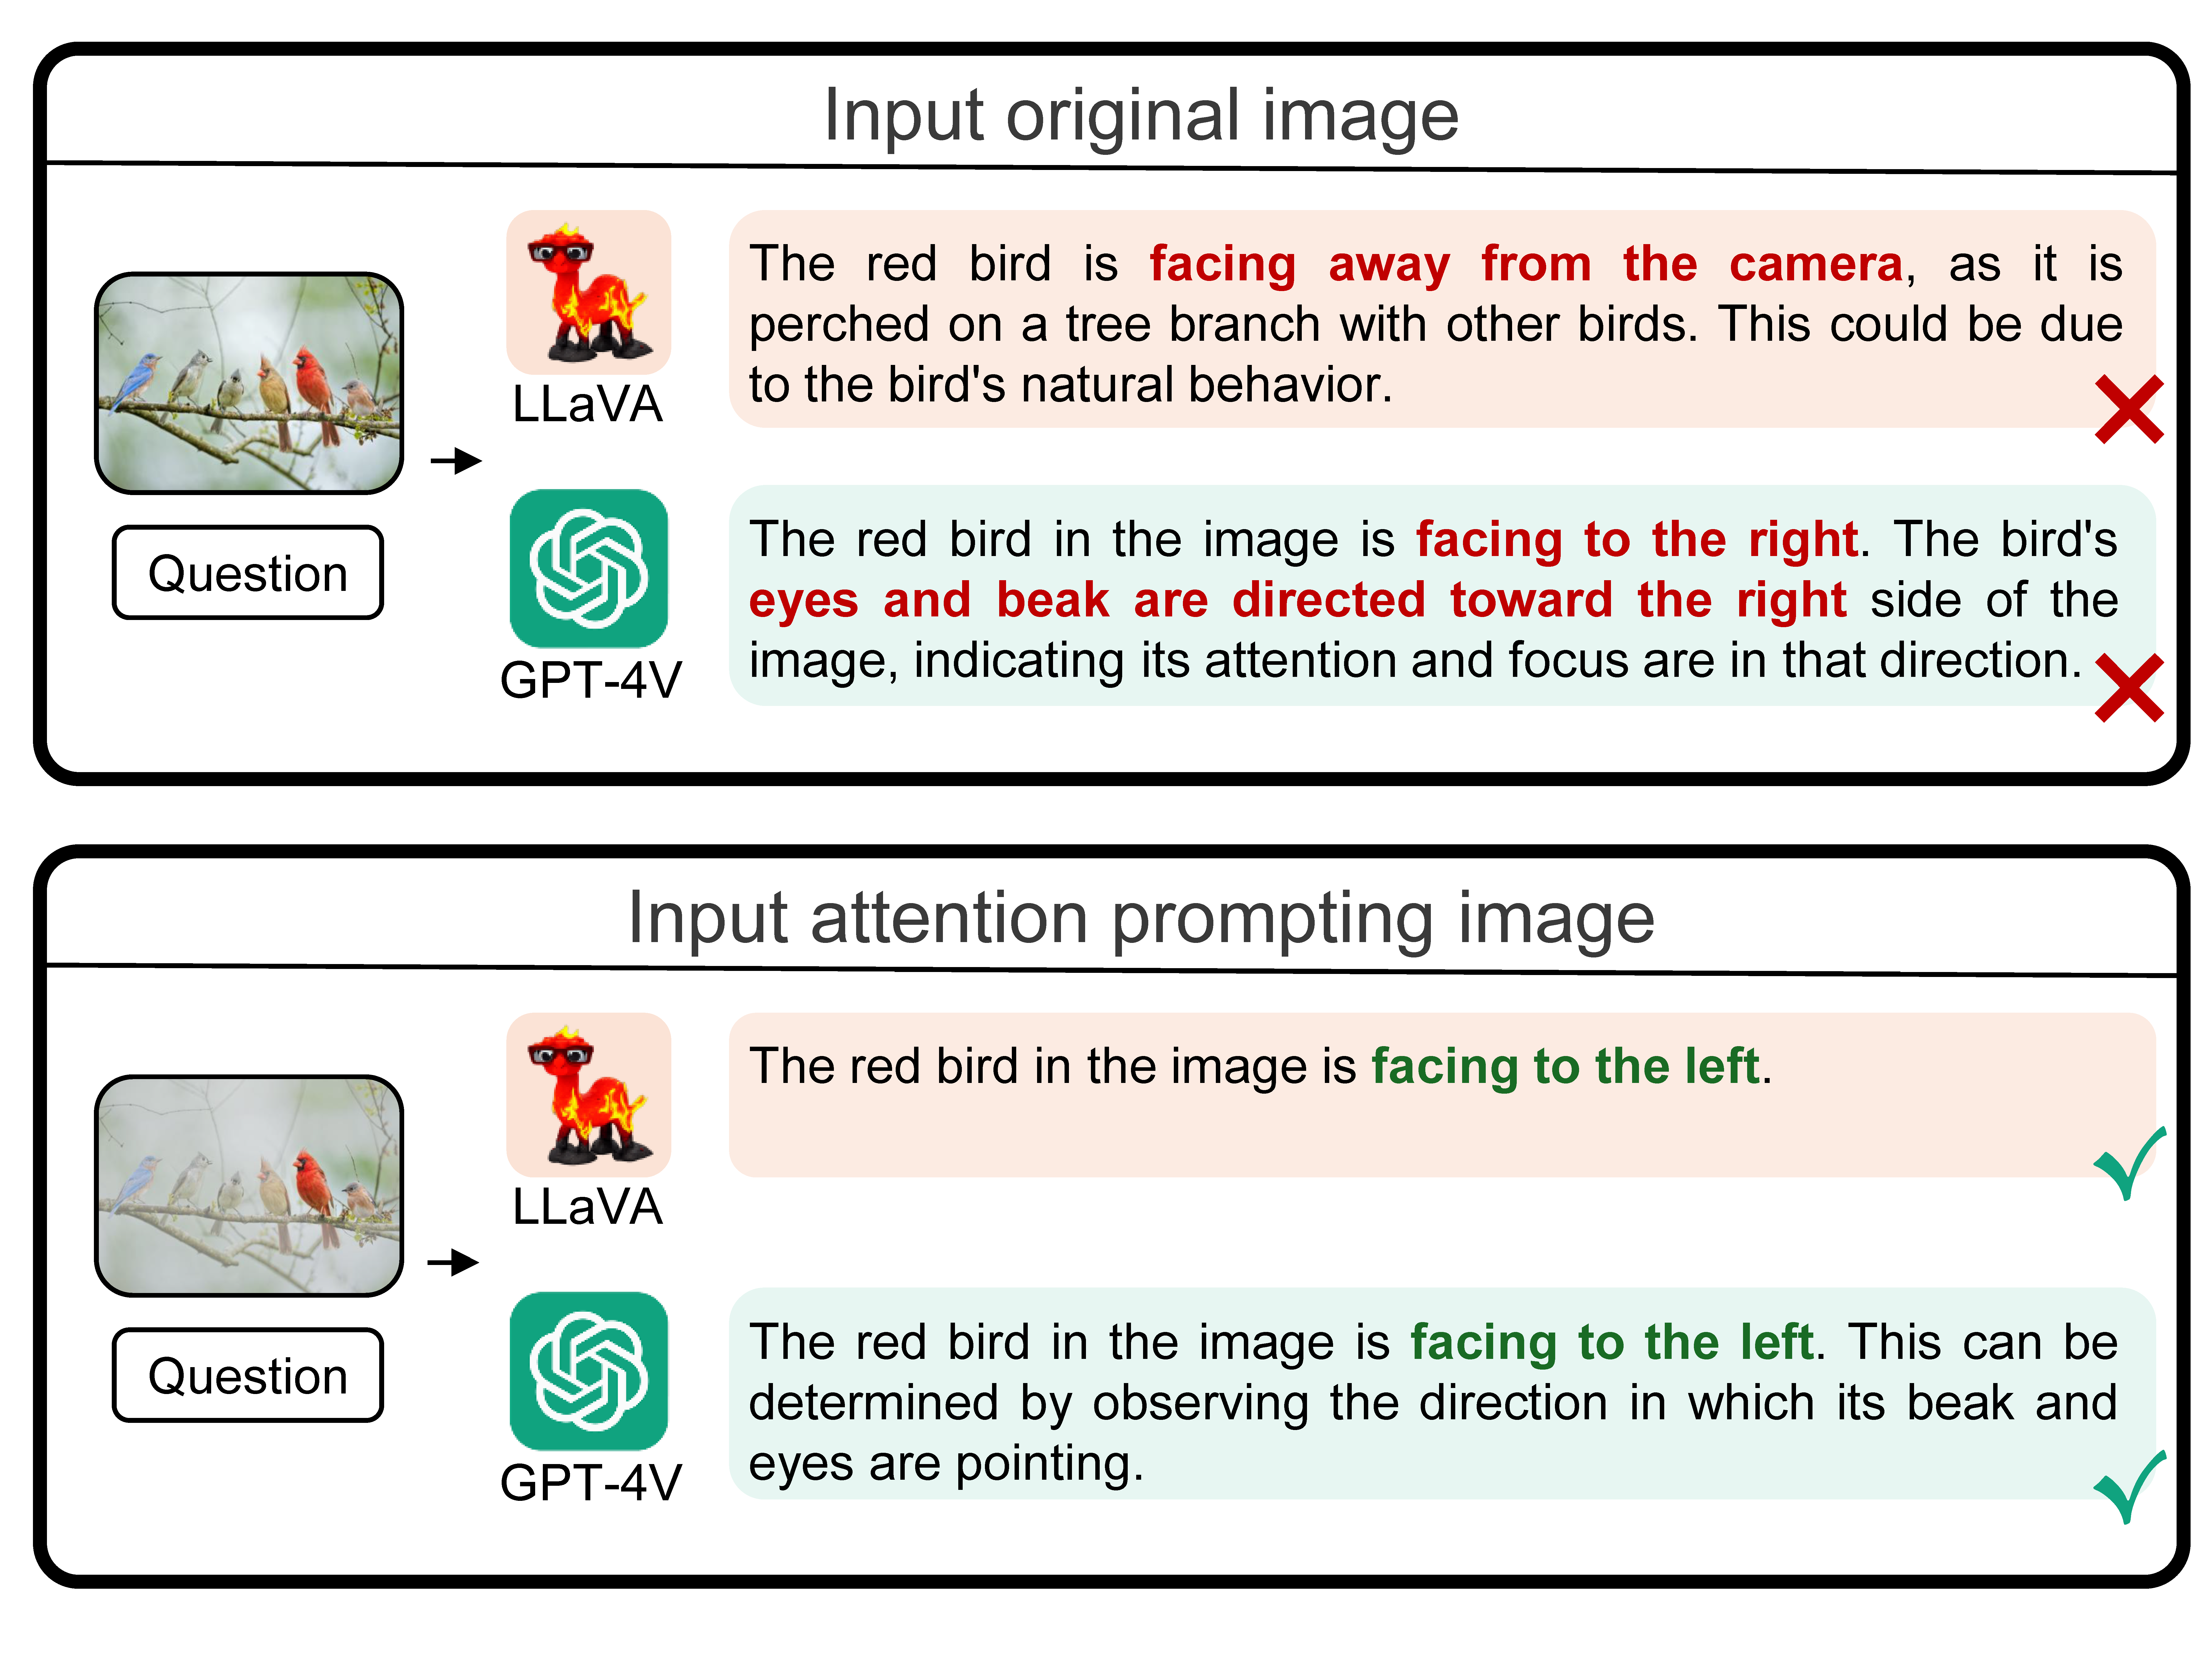 👍 Here is an example comparing our API method with the naive VQA method without prompting. The question in the example is particularly challenging, testing the VLM's abilities in visual grounding and spatial attribute reasoning. The API-generated mask reduced the difficulty of the visual grounding task, highlighting the red bird mentioned in the query.
In this repo, we provide the code for generate annotated images using API method. Both the CLIP-based and LLaVA-based generation are included. After obtaining the annotated images, you may use them to evaluate the corresponding VQA performance of any LVLM you want.
Now, there are two ways to try API. We have a python package, with which you can use minimal lines of code to try API or integrate API into your code. The other way is to use the code in this repo, which is more flexible and editable.
- Instructions for apiprompting package: API Package.
- Instructions for directly using the code in this repo: Environment Setup and Use API.
-
Try our demo online.
-
Run it locally using the following code.
-
Check out the video demo.
API_DEMO.mp4
To install the package, run the following command:
pip install apipromptingYou can view the full package description on its PyPI Page. Below is a simplified case for illustration.
from apiprompting import clip_api, llava_api

images, queries = ["path/to/image"], ["query"]

# CLIP_Based API
masked_images = clip_api(images, queries, model_name="ViT-L-14-336")
# LLaVA_Based API
masked_images = llava_api(images, queries, model_name="llava-v1.5-13b")For directly using the code in this repo, one environment are required for each of the CLIP-based code and the LLaVA-based code.
The code for CLIP-based API is based on the this repo. To create the environment, you may follow the instruction in the api/CLIP/README.md file or simply create a environment using the following commands.
conda create -n clip_api python=3.11
conda activate clip_api
pip install torch torchvision timm einops ftfy scipy imageio h5py scikit-image scikit-learn opencv-python regexThe code for LLaVA-based API is based on the official LLaVA repo. To create the environment, you may follow the instruction in the api/LLaVA/LLaVA/README.md file.
Error and Solution
- ValueError: Unable to create tensor, you should probably activate padding with 'padding=True' to have batched tensors with the same length.
- Upgrade Numpy package. For now, using numpy==1.24.0 fixs this error.
We use an extra DataManager script to control the dataset pre-processing and loading. You may include any dataset and modify the function in API/DatasetManager/dataloader.py to customize it. After setup the environment for CLIP-Based API and LLaVA-Based API, you can use the following command to install the extra DataManager module.
# For CLIP-Based API
conda activate clip_api
# For LLaVA-Based API
# conda activate llava_api

cd API/DatasetManager
pip install -e .The following command can generate masked images from a given dataset using the CLIP-Based API.
cd API/API_CLIP

python main.py \
  --dataset mmvet \
  --range 0 100 \
  --model_name ViT-L-14-336 \
  --layer_index 22 \
  --batch_size 8 \
  --output_folder "../../experiments" \
  --interpolate_method_name LANCZOS \
  --enhance_coe 5 \
  --kernel_size 3 \
  --grayscale 0

  # Dataset Parameters
  # --dataset: Dataset, e.g., mmvet, LLaVA_Wild.
  # --range: Range of images to be processed, for example, args.range = [0,100] indicates that only the first 100 images will be processed.

  # Auxiliary Model Parameters
  # --model_name: Name of the auxiliary CLIP model.
  # --layer_index: Layer index of the feature used to calculate the similarity score. Based on our observations, the second-to-last and third-to-last layers perform better.

  # Processing Parameter
  # --batch_size: CLIP-Based API supports batch processing. Increasing batch_size to speed up.
  # --output_folder: Output Folder.

  # Masking Parameter
  # --interpolate_method_name: The interpolation method used during mask resizing, such as LANCZOS or BICUBIC.
  # --enhance_coe: Contrast control parameter. The larger this parameter, the greater the contrast between the bright and dark areas of the mask, such as 1,5,10.
  # --kernel_size: Smoothness control parameter. The larger this parameter, the smoother the generated mask appears, reducing the rectangular shapes in the mask.
# --grayscale: Grayscale control parameter, determining the grayscale level of the mask.The following command can generate masked images from a given dataset using the LLaVA-Based API.
cd API/API_LLaVA

python main.py \
  --dataset mmvet \
  --range 0 100 \
  --model_name 13b \
  --layer_index 22 \
  --output_folder "../../experiments" \
  --interpolate_method_name LANCZOS \
  --enhance_coe 5 \
  --kernel_size 3 \
  --grayscale 0

  # Dataset Parameters
  # --dataset: Dataset, e.g., mmvet, LLaVA_Wild.
  # --range: Range of images to be processed, for example, args.range = [0,100] indicates that only the first 100 images will be processed.

  # Auxiliary Model Parameters
  # --model_name: Name of the auxiliary LLaVA model.
  # --layer_index: Layer index of the feature used to calculate the similarity score. Based on our observations, the second-to-last and third-to-last layers perform better.

  # Processing Parameter
  # --output_folder: Output Folder.

  # Masking Parameter
  # --interpolate_method_name: The interpolation method used during mask resizing, such as LANCZOS or BICUBIC.
  # --enhance_coe: Contrast control parameter. The larger this parameter, the greater the contrast between the bright and dark areas of the mask, such as 1,5,10.
  # --kernel_size: Smoothness control parameter. The larger this parameter, the smoother the generated mask appears, reducing the rectangular shapes in the mask.
# --grayscale: Grayscale control parameter, determining the grayscale level of the mask.sglang_inference/tutorial.ipynb is a tutorial that uses the MM-Vet and LLaVA-Wild datasets as examples to demonstrate how to generate masked images using the CLIP-Based API and perform inference with LLaVA 1.5. The experimental results mentioned in the tutorial are included in the results folder.
If you find our work useful, please cite using this BibTeX:
@misc{yu2024api,
      title={API: Attention Prompting on Image for Large Vision-Language Models},
      author={Runpeng Yu and Weihao Yu and Xinchao Wang},
      year={2024},
      booktitle={European Conference on Computer Vision},
}


