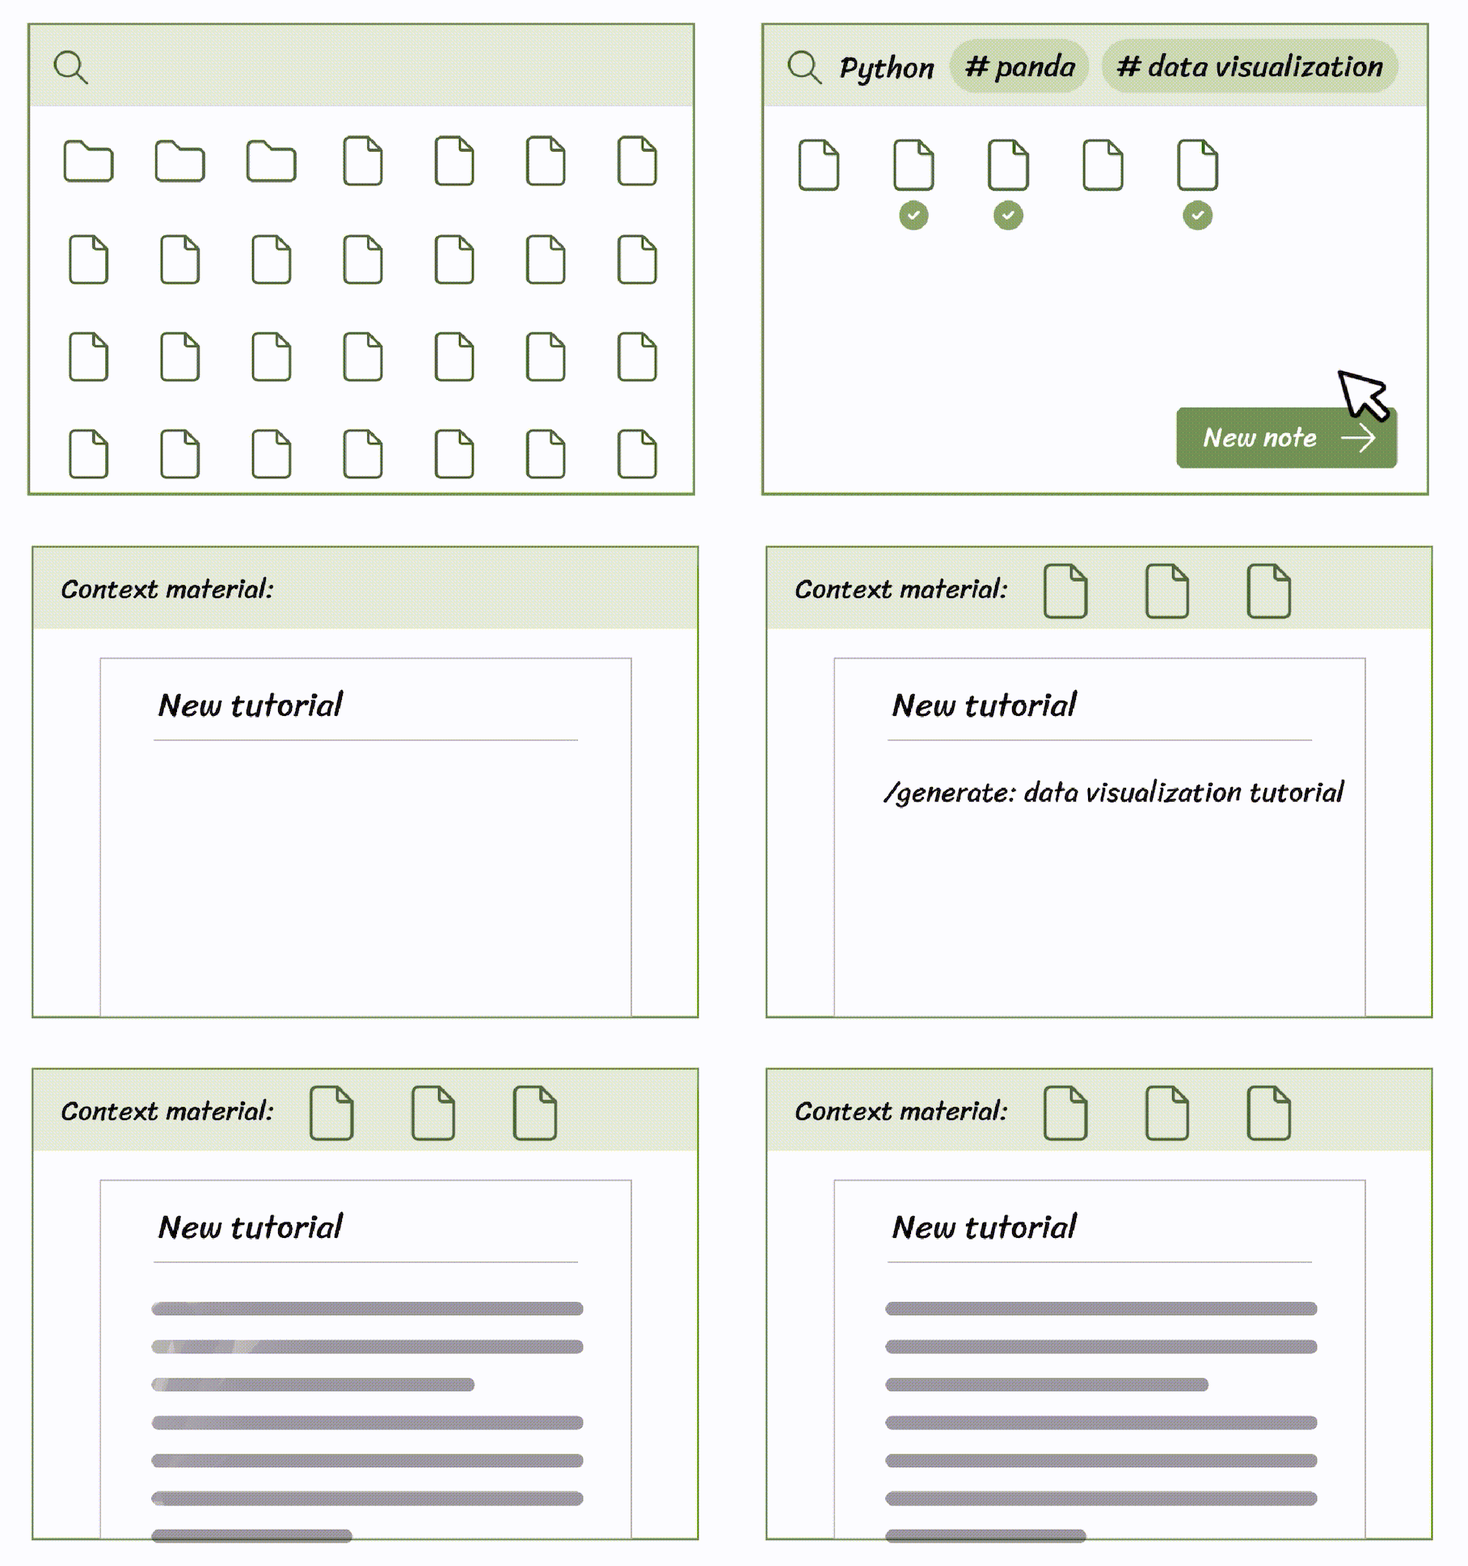
noteOS is a versatile writing and content publishing platform designed for programmers and learners. It serves as a central hub for personal knowledge management, combining powerful features like search, reference management, note organization, and collaborative editing into a seamless writing experience.
noteOS supports various note types to cater to diverse workflows and creative needs:
- Article: A rich text editor for detailed documentation, blogging, or technical writing.
- Attachment: Upload and manage images, audio, videos, and PDFs effortlessly.
- Sketch: Visualize your ideas with tools like Excalidraw for diagrams and illustrations.
- Canvas: Connect and relate notes visually to map out concepts and ideas.
- Task: Plan and manage projects effectively with task-based notes.
Leverage the power of retrieval-augmented generation to enhance your writing:
- Visually structure content and prepare contextual information for queries.
- Elicit relevant, accurate responses from LLMs.
- Seamlessly review and integrate AI-generated content into your documents.
noteOS centralizes your knowledge with:
- Advanced Search: Quickly locate and reference your notes and resources.
- Organized Note Hierarchies: Group, link, and structure notes intuitively.
- Collaborative Editing: Work together on projects in real-time.
An easy way to host noteOS is by using the hosting service provided by Fly.io. However, you are free to choose any other cloud service provider that suits your needs. noteOS is designed with a lightweight and efficient technology architecture, ensuring minimal hardware requirements. This allows users to comfortably utilize the free tiers offered by most cloud providers while still enjoying a stable and reliable hosting experience.
This guide walks you through the initial deployment process and shows you techniques you can use to troubleshoot issues you may encounter in a new environment. Before we getting started, you might need to create an free account at Fly.io to follow this installation guide step by step.
git clone https://github.com/x-tropy/noteOS.gitTo configure and launch your Rails app, you can use fly launch and follow the wizard.
fly launchCreating app in ~/list
Scanning source code
Detected a Rails app
? Choose an app name (leave blank to generate one): list
? Select Organization: John Smith (personal)
? Choose a region for deployment: Ashburn, Virginia (US) (iad)
Created app list in organization personal
Admin URL: https://fly.io/apps/list
Hostname: list.fly.dev
Set secrets on list: RAILS_MASTER_KEY
? Would you like to set up a Postgresql database now? Yes
For pricing information visit: https://fly.io/docs/about/pricing/#postgresql-clu
? Select configuration: Development - Single node, 1x shared CPU, 256MB RAM, 1GB disk
Creating postgres cluster in organization personal
. . .
Postgres cluster list-db is now attached to namelist
? Would you like to set up an Upstash Redis database now? Yes
? Select an Upstash Redis plan Free: 100 MB Max Data Size
Your Upstash Redis database namelist-redis is ready.
. . .
create Dockerfile
create .dockerignore
create bin/docker-entrypoint
create config/dockerfile.yml
Wrote config file fly.toml
Your Rails app is prepared for deployment.
Before proceeding, please review the posted Rails FAQ:
https://fly.io/docs/rails/getting-started/dockerfiles/.
Once ready: run 'fly deploy' to deploy your Rails app.You can set a name for the app, choose a default region, and choose to launch and attach either or both a PostgreSQL and Redis databases. Be sure to include Redis is if you make use of Action Cable, caching, and popular third-party gems like Sidekiq.
Deploying your application is done with the following command:
fly deployThis will take a few seconds as it uploads your application, builds a machine image, deploys the images, and then monitors to ensure it starts successfully. Once complete visit your app with the following command:
fly apps openIf all went well, you’ll see your Rails application homepage.


