This document provides instructions on how to install Python on different operating systems.
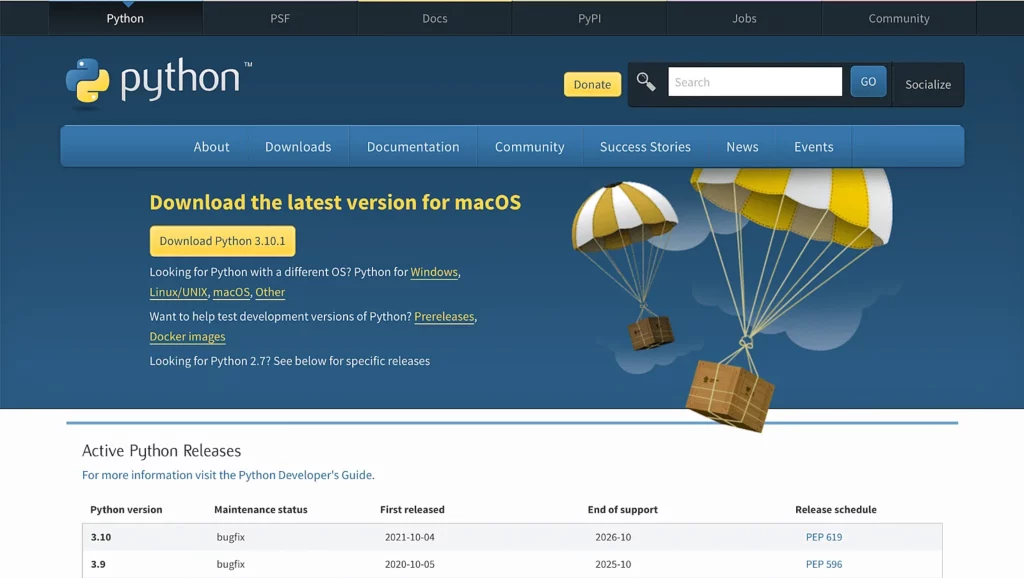
First, go to the Python official download website.
Click downloads and click on the latest version then your download will start and you should have something like this
Next, open the download file and enable Add Python to Path option and click Install now as shown below
Wait a few minutes until it displays setup was successful and click the close button
Verify that the installation was successful by typing
python3.8 --version
Output

Python 3.8.0
To installing Python on Linux we will only need aptcommand, so make sure to run all the commands as root or as user with sudo access.
First, we update the packages list and install the prerequisites using these commands
sudo apt update
sudo apt install software-properties-common
Second, add the deadsnakes Personal Package Archives (PPA) to your system’s sources list
sudo add-apt-repository ppa:deadsnakes/ppa
When prompted (see below) press Enter to continue
Output

Press [ENTER] to continue or Ctrl-c to cancel adding it.
Once the PPA is added, install Python 3.8 with
sudo apt install python3.8
PS: You can install later versions of python. All you need is change the version on the last command and make sure it's available on the deadsnakes packages.
Verify that the installation was successful by typing
python3.8 --version
Output

Python 3.8.0
We will use the official installer from the Python website which is the most common way for installing Python on MAC.
First, from the Python downloads website download the latest version of Python installer on your Mac by clicking on the download link
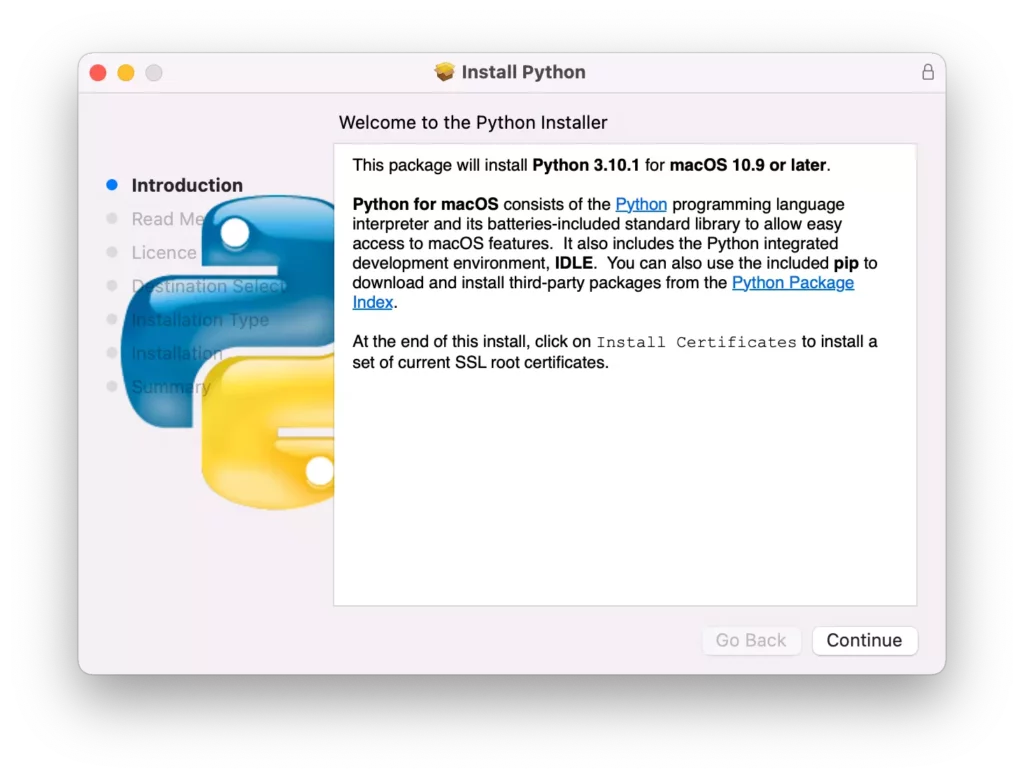
Once the download is complete, double-click the package to start installing Python using the default settings
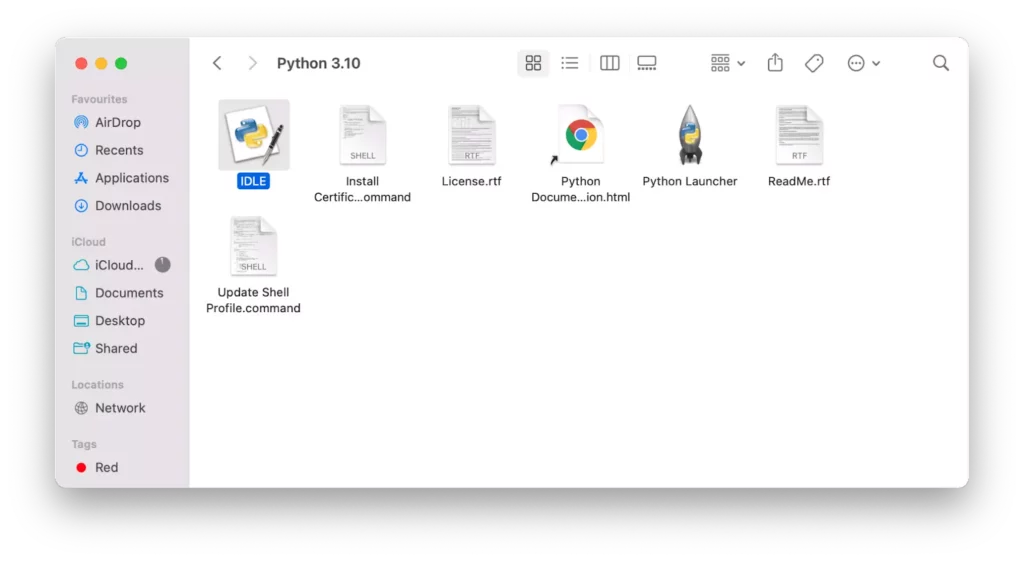
When the installation completes, it will open up the Python folder
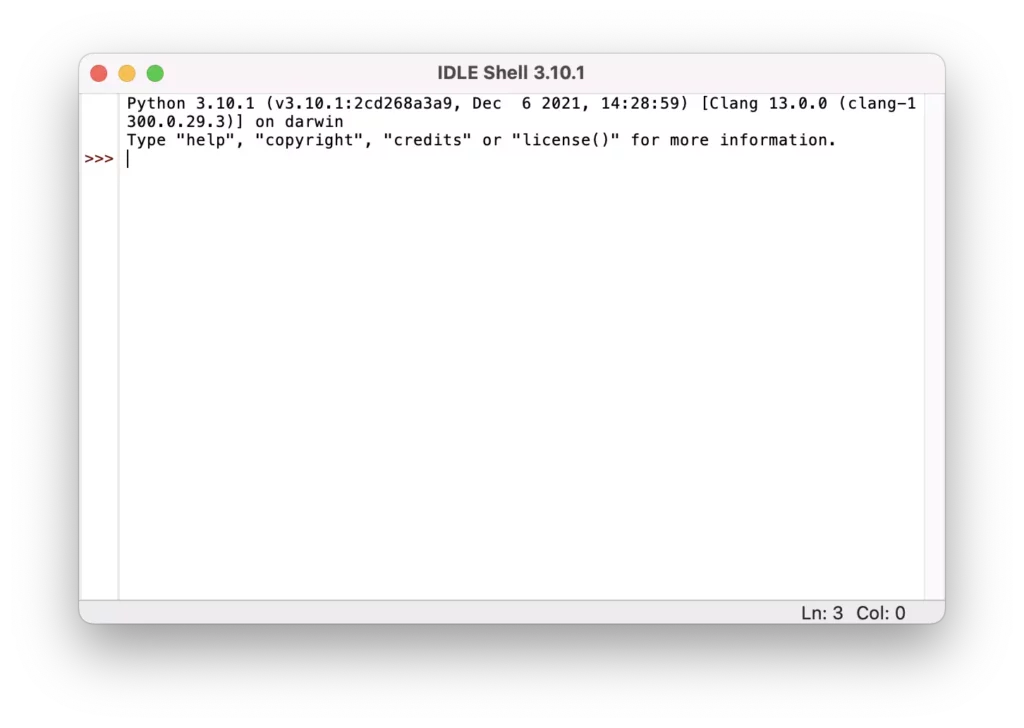
Let’s verify that Python and IDLE installed correctly. To do that, double-click IDLE, which is the integrated development environment shipped with Python. If everything works correctly, IDLE shows the Python shell as follows
Some of the information and all the pictures used in Windows tutorial and MAC tutorial are extracted from the following links


