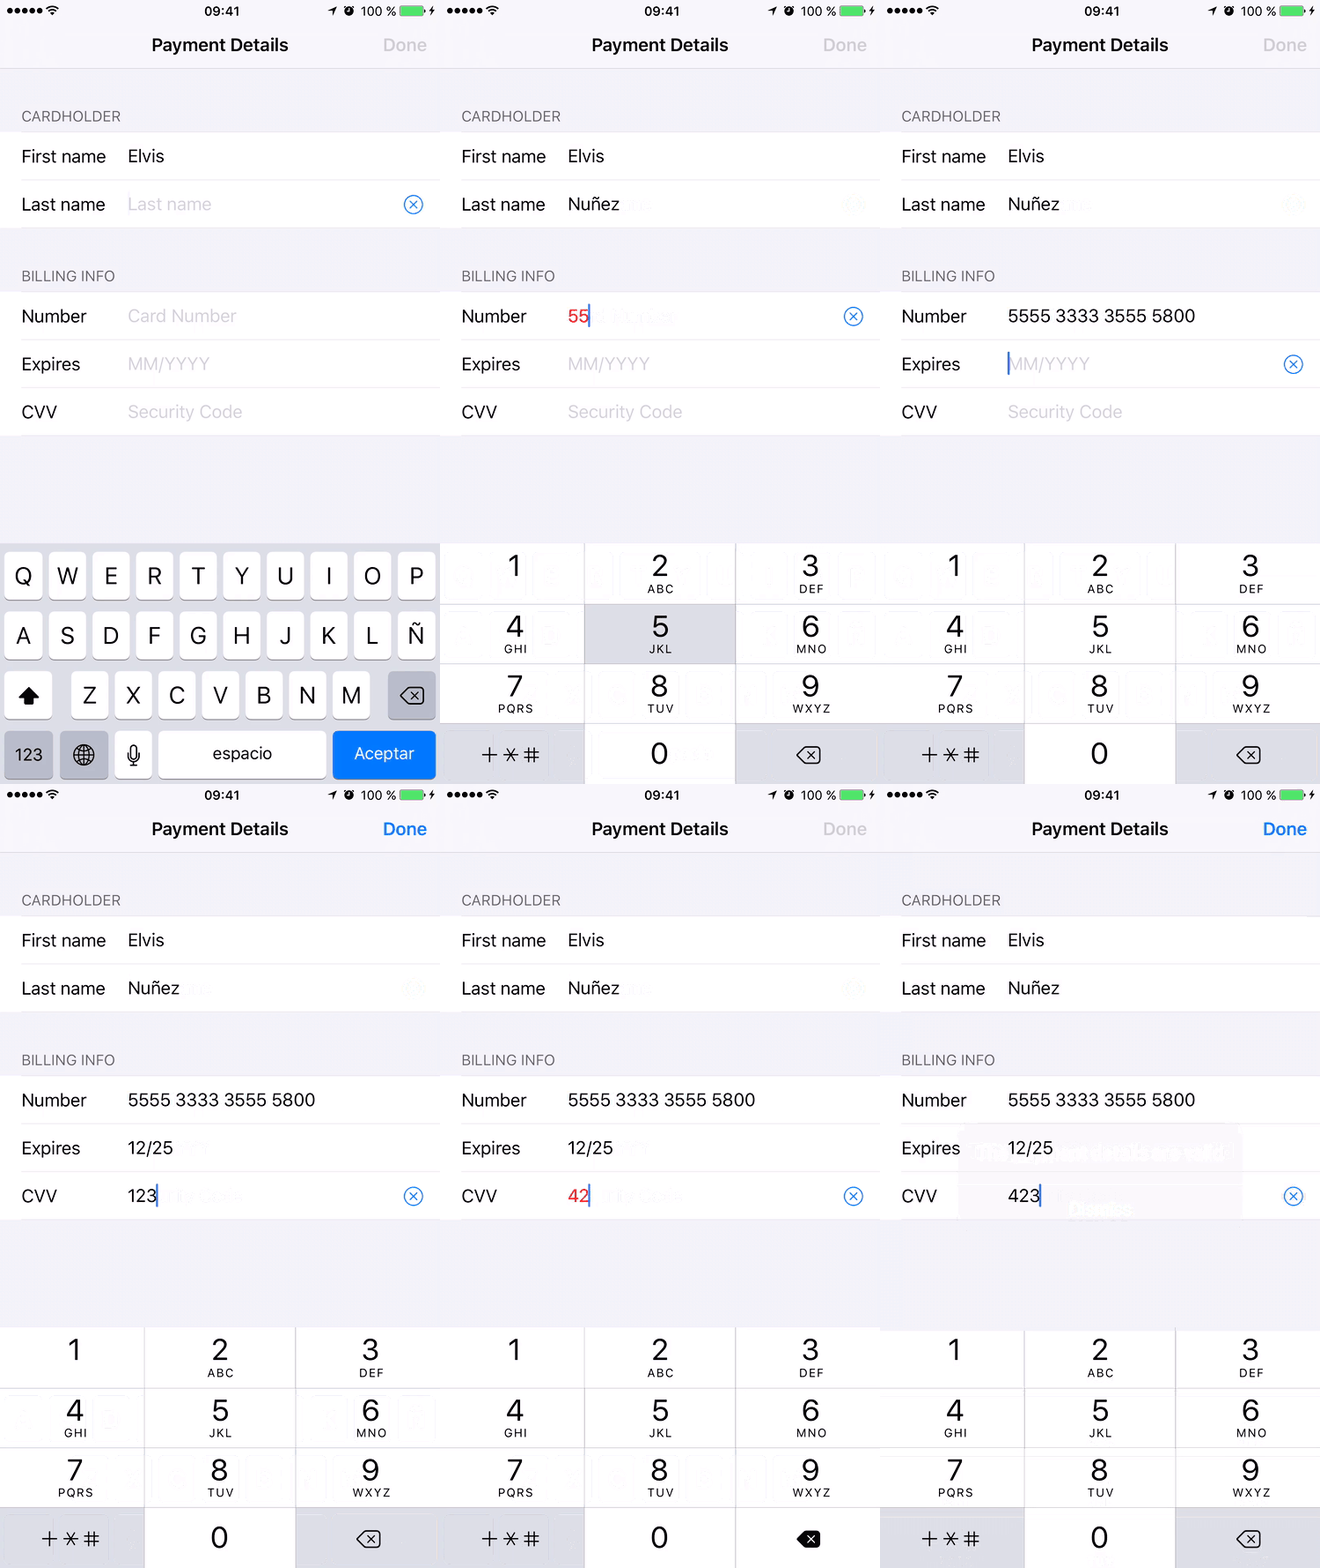
This a UITextField subclass that supports styling for checking for valid and invalid inputs, and formatters so you can easily format credit card numbers, phone numbers and more. It supports input validators so you can limit the contents of a UITextField using maximum length, maximum value or even regex (perfect for validating emails).
FormTextField also supports styling using UIAppearance protocol. The example shown above uses this for styling.
The InputValidator object allows you to validate a value by setting some rules, out of the box InputValidator allows you to validate:
- Required (non-empty)
- Maximum length
- Minimum length
- Maximum value
- Minimum value
- Valid characters
- Format (regex)
For example if you have a FormTextField where you only want to allow values between 5 and 6 you can do this:
let validation = Validation()
validation.minimumValue = 5
validation.maximumValue = 6

formTextField.inputValidator = InputValidator(validation: validation)

Typing 4 => Invalid
Typing 5 => Valid
Typing 6 => Valid
Typing 7 => Invalid
FormTextField includes 3 built-in input validators:
-
CardExpirationDate: Validates MM/YY, where MM is month and YY is year. MM shouldn't be more than 12 and year can be pretty much any number above the current year (this to ensure that the card is not expired).
-
Decimal: Validates that the value is a number allowing commas and dots for decimal separation.
-
Required: A convenience input validator for minimum length 1.
InputValidator includes the InputValidatable protocol. Any class that conforms to this protocol can be considered an input validator. For example making an InputValidator that only allows letters could be as simple as this.
public struct LetterInputValidator: InputValidatable {
    public var validation: Validation?

    public init(validation: Validation? = nil) {
        self.validation = validation
    }

    public func validateReplacementString(replacementString: String?, fullString: String?, inRange range: NSRange?) -> Bool {
        var valid = true
        if let validation = self.validation {
            let evaluatedString = self.composedString(replacementString, fullString: fullString, inRange: range)
            valid = validation.validateString(evaluatedString, complete: false)
        }

        if valid {
            let composedString = self.composedString(replacementString, fullString: fullString, inRange: range)
            if composedString.count > 0 {
                let letterCharacterSet = NSCharacterSet.letterCharacterSet()
                let stringCharacterSet = NSCharacterSet(charactersInString: composedString)
                valid = letterCharacterSet.isSupersetOfSet(stringCharacterSet)
            }
        }

        return valid
    }
}

formTextField.inputValidator = LetterInputValidator()
Typing A => Valid
Typing 2 => Invalid
Typing AA => Valid
Typing A7 => InvalidFormatter objects are objects that convert your text to a specific formated implemented using the Formattable protocol. Out of the box FormTextField includes two Formatters:
CardExpirationFormatter: Formats a number so it follows the MM/YY convention where MM is month and YY is year.
CardNumberFormatter: Formats a number so it adds a separation after every 4th character, for example it will format 1234567812345678 as 1234 5678 1234 5678.
Making a custom Formatter for FormTextField should be as simple as making a class that conforms to the Formattable protocol, meaning implementing the following method.
func formatString(_ string: String, reverse: Bool) -> StringFormTextField is available through CocoaPods. To install it, simply add the following line to your Podfile:
pod 'FormTextField'FormTextField is available under the MIT license. See the LICENSE file for more info.
Elvis Nuñez, @3lvis

